How to Install and Maintain an Outdoor LED Billboard Panel
Every outdoor LED project eventually hits the same wall — not the display face, but the buildability question: can this screen physically attach to what is already there? This article walks through the installation sequence for the ASE8 outdoor LED display, and the maintenance routine that keeps it running for a decade.
Step 1 — Measure in Cabinets, Not Meters
The ASE8 cabinet is a fixed 960×960×100mm module. Design begins by converting your target wall into whole cabinets:
- 9.6 × 4.8 m → 5 columns × 8 rows = 40 cabinets
- 12 × 6 m → 12.5 × 6.25… not a clean fit, adjust to 12.48 × 6.72 m
Getting this right at quotation stage avoids custom-cut frames later. Because the cabinet is standard across the ASE series, stocking spare units is straightforward.

Step 2 — Structure and Wind Load
Three mounting families cover almost every project:
- Wall-mounted — a steel grid fixed to the building, screen face 100mm proud of the wall
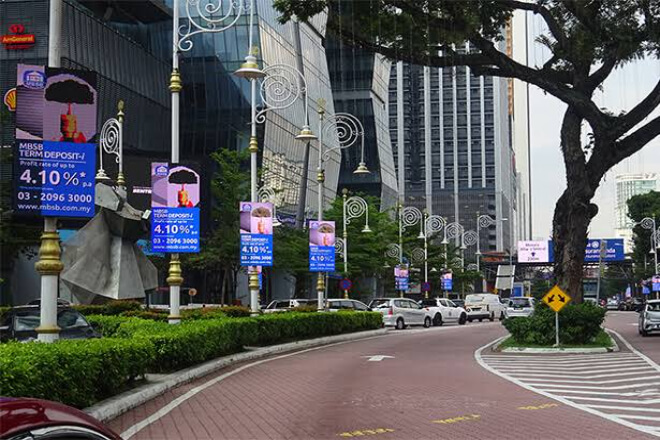
- Unipole / pylon — free-standing roadside structure, pre-engineered in standard heights
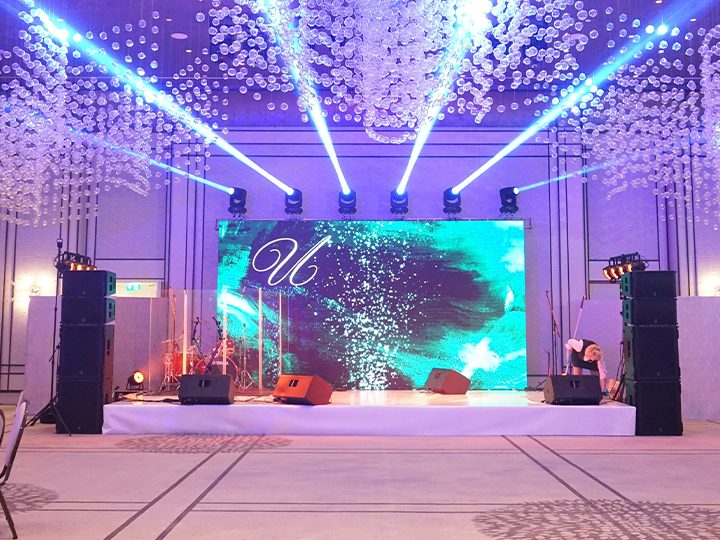
- Truss / event — temporary rigging for festivals and mobile stages
Your structural engineer needs the cabinet count, the screen’s dead load, and the local wind-load code. The 100mm depth directly reduces both dead load and wind moment — on a rooftop, that can mean fewer ballast blocks and less structural reinforcement.
Step 3 — Mounting and Alignment
Cabinets hook onto the frame at the top edge and lock at four corners. Alignment comes from machined cabinet edges: butt them together, close the latches, and the pixel grid stays continuous across the whole face. Two installers with basic lifting gear can run a full column in a morning.
Step 4 — Power and Data
- Power: 200–240VAC into Muen-brand switching supplies; plan one 220V circuit per 4–6 cabinets
- Data: Novastar receiving cards daisy-chained per column, one Cat6 loop back to the sending unit
- Spare capacity: leave one spare circuit and one spare data port per array — future cabinets are then a plug-in, not a rewire
Step 5 — Why Rear Service Matters More Than You Think
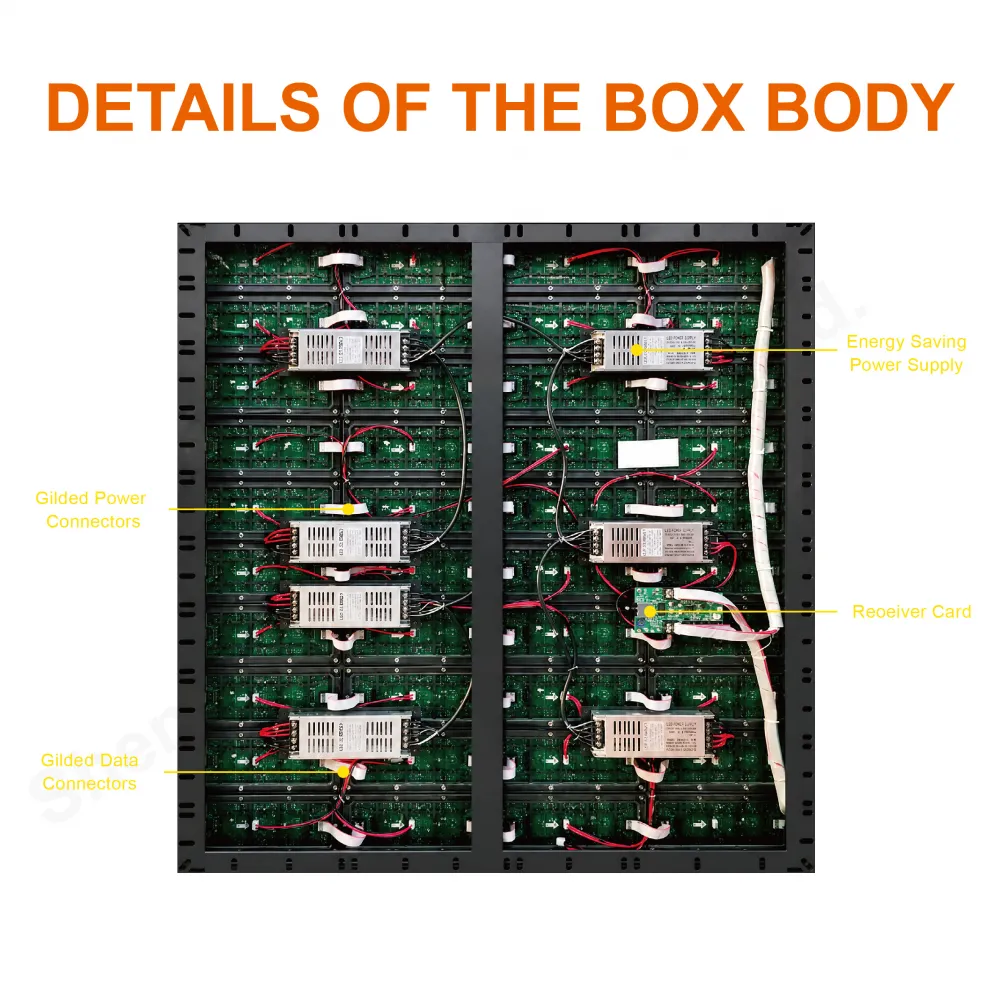
The ASE8 is a rear-service cabinet. Every module, power supply and card is reached from behind the screen. In practice this means:
- No scaffold, crane or lift parked in front of the display during repairs
- Technicians work at standing height, in ordinary weather, at any hour
- Front face stays untouched — important for sealed IP-rated installations and lease obligations

The Maintenance Calendar
| Interval | Task |
|---|---|
| Weekly | Remote check: brightness report, dead-pixel scan, system alerts |
| Monthly | Visual inspection from ground level; clean any debris from the face |
| Quarterly | Rear inspection — connectors, fans, power terminals, cable strain |
| Annually | Torque check on structure bolts; drainage and seal inspection; full color recalibration |
Because the control platform is Novastar — the industry standard — any local integrator can carry out this calendar. You are not locked to the original installer for the screen’s life. Structural drawings and cabinet accessories are documented on the ASE8 product page.