Pitch, Scan and Refresh: What These Three Numbers Actually Do on Camera
Pitch, Scan and Refresh: What These Three Numbers Actually Do on Camera
Three specifications decide whether an LED wall looks like a window or a flickering grid: pixel pitch, scan rate and refresh rate. They are usually quoted as a single line in a spec sheet — 3.91 mm, 1/16 scan, 1920 Hz — and then never explained. This article explains what each number does in the real world, how they interact with a camera, and how to fix the stripey video that clients send back after an event.
Pixel pitch: the number that sets viewing distance
Pitch is the distance between the centers of two adjacent LEDs, in millimeters. At 3.91 mm, one square meter holds roughly 65,400 pixels. On a 3 m x 2 m wall that works out to 768 x 512 pixels.
Pitch is not a quality score. It is a distance specification: it tells you how close the audience can stand before the image stops looking continuous.
| Viewing distance | What the audience actually perceives on a 3.91 mm wall |
|---|---|
| Under 3 m | Pixel structure visible on flat color fields; fine text looks slightly stepped |
| 3–5 m | Pixels blend for most content; acceptable for logos, video and large type |
| 5–10 m | Comfortable viewing. This is the designed sweet spot for a 3 x 2 m wall |
| 10–20 m | Image reads cleanly; individual pixels are no longer resolvable |
| Over 20 m | Content reads as shape and color; treat it as atmosphere, not detail |
The practical rule for event work: design content for the distance most of the audience will actually be at, not for the closest row. A wall behind a stage where the front row is 4 m away and the back of the field is 40 m away should be authored for 8–12 m legibility. That means large type, high contrast, minimal fine print and no thin white lines on white.
A second rule: match your content aspect ratio to 3:2 (768 x 512), not to 16:9. Stretching a 1920 x 1080 video into a 3:2 canvas makes everyone on screen slightly wide — a detail clients notice in photographs even when they cannot say why.
Scan rate: 1/16 and the shutter-speed trap
An LED panel does not light all its rows at once. It lights them in groups, cycling fast enough that the eye integrates them into a full image. At 1/16 scan, a 256-row cabinet is driven in sixteen groups of sixteen rows, one group at a time.
This is normal and efficient, and invisible to the human eye. It becomes visible to a camera when the camera’s shutter is faster than the panel’s row cycle. The result is the familiar dark band or partial image — half the screen bright, half dim, or a rolling stripe that moves through the frame.
Why 1/16 scan is a reasonable choice for this product: higher scan counts (1/32, 1/64) improve uniformity under very fast shutters but reduce the light output per row and increase driver cost. At 1/16, the panel keeps brightness high — which outdoor work needs — while staying camera-friendly under normal shooting conditions.
How to shoot a 1/16 scan panel without banding:
- Set the camera to a 1/50 s shutter in 50 Hz regions or 1/60 s in 60 Hz regions. Never shoot at 1/500 or faster unless you have tested it.
- On phones, lock exposure and shutter if the app allows it; otherwise use the “pro” or “manual” video mode.
- Reduce screen brightness rather than raising camera ISO. Lower brightness shortens the on-time per row and reduces the chance of catching a partial frame.
- Shoot slightly off-axis. Straight-on shots align the camera’s sensor grid with the LED grid and produce moiré.
- If moiré persists, defocus by a hair. A 2% softness removes the interference pattern and is invisible in the final image.
Refresh rate: 1920 Hz and what it buys you
Refresh rate is how many times per second the whole image is redrawn. At 1920 Hz, the panel redraws 1,920 times a second — thirty-two times faster than the 60 Hz at which video is displayed.
What that means in practice:
- Casual phone video is clean. The most common camera at any event is a phone held by a guest, and 1920 Hz is comfortably above the threshold where phone sensors pick up flicker.
- Broadcast and event cameras are fine at normal shutter angles. Under standard 1/50 or 1/60 shutter, the panel is captured without roll bars.
- Slow-motion is where it runs out. At 120–240 fps capture, or with shutter speeds above roughly 1/1000, a 1920 Hz panel will start to show artifacts. If your client is shooting high-speed slow-motion for a brand film, test before the shoot day, or rent a higher-refresh panel for that specific job.
- Photos are unaffected. Still photography at normal shutter speeds captures the panel cleanly.
For a rental product, 1920 Hz is the pragmatic point: it covers phones, DSLRs, event cameras and live broadcast cutaways without paying for the refresh headroom that only high-speed cinematography needs.
Brightness: over 3,000 nits, and why more is not always better
The panel delivers more than 3,000 nits, which is what makes an outdoor daytime image readable. Sunlight on a white surface reflects roughly 10,000–30,000 nits, so no LED wall wins a direct-sunlight contest — but 3,000+ nits is enough to hold contrast in shade, under a stage roof, and in the softer light of late afternoon and evening.
Brightness is a dial, not a fixed virtue. Two rules:
- Run at the lowest brightness that reads well. At night, drop to 800–1,200 nits. A wall at full output after dark blows out skin tones, ruins camera exposure and blinds the front rows.
- Do not chase brightness with contrast. If the image looks flat in daylight, raise saturation and black level in content before pushing the screen to maximum. Full output accelerates heat and shortens LED life.
Putting the three numbers together
| Specification | Value on this set | What it controls | What to watch |
|---|---|---|---|
| Pixel pitch | 3.91 mm | Viewing distance and detail | Design to 768 x 512, 3:2 |
| Scan | 1/16 | Row driving and camera banding | Shoot at 1/50 or 1/60 |
| Refresh | 1920 Hz | Flicker on camera | Test before high-speed shoots |
| Brightness | >3,000 nits | Daylight visibility | Dim at night, don’t max out |
| Resolution (3 x 2 m) | 768 x 512 | Content canvas | No thin lines, no small text |
A five-minute pre-show camera test
Before the doors open, run this on the actual wall with the actual camera that will film the event:
- Display a full white field, then a 50% gray field, then a slow-moving gradient.
- Record ten seconds of each at the shutter speed you plan to use.
- Play back on a phone and on a laptop. Look for rolling bands, color shift and moiré.
- If bands appear, halve the shutter speed and repeat. If they persist, lower screen brightness by 20% and repeat.
- Photograph the final settings and send them to the client’s camera team. It ends the argument before it starts.
Full specifications — pitch, scan, refresh, cabinet geometry and control system — are listed on the ARC3.91 3x2M outdoor rental LED display set page.
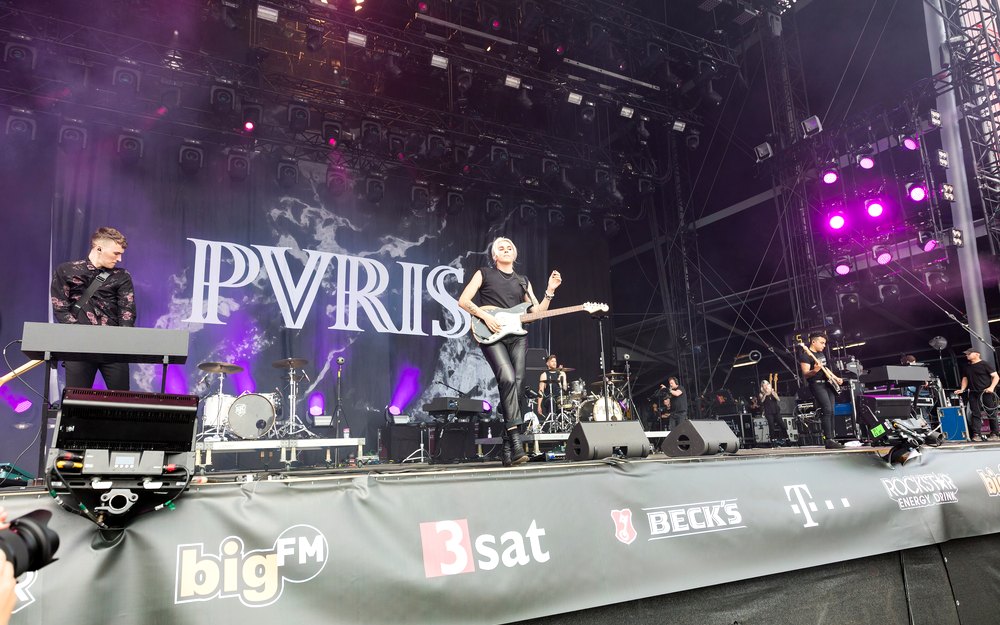
Figure 1 — Daylight and backlit stage conditions are where brightness headroom earns its keep.

Figure 2 — At night, the same wall should be dimmed, not run at full output.
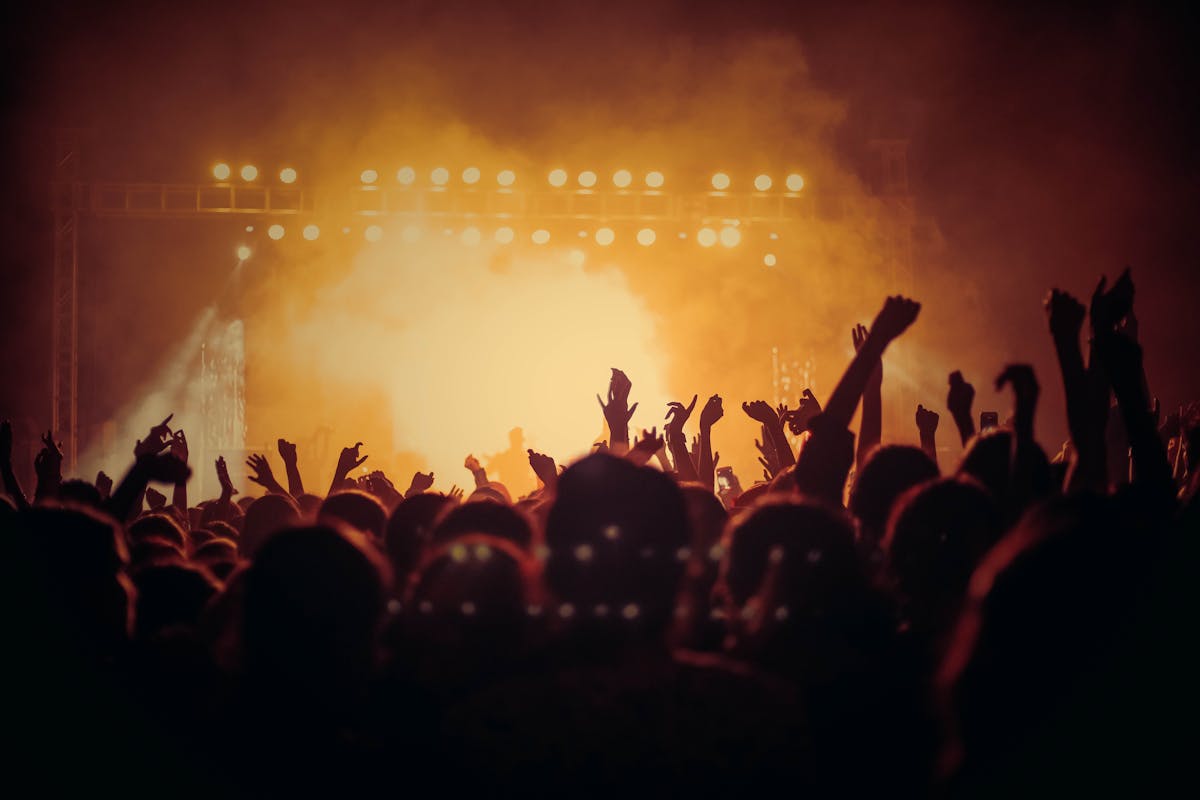
Figure 3 — Guest phone video is the most common camera at any event, and the first place flicker shows up.
The short version
Pitch sets distance, scan sets camera compatibility, refresh sets flicker. On this set: 3.91 mm means a 768 x 512 canvas and a comfortable audience at 5–10 m; 1/16 scan is camera-safe at 1/50–1/60 shutter; 1920 Hz covers phones, event cameras and broadcast, but not high-speed slow-motion. Dim the wall at night, design content for the real viewing distance, and test the client’s camera before the show — not after.
For the complete specification and available cabinet configurations, see the product page.