What Actually Ships in a 3x2M Outdoor Rental LED Kit — and Why Every Part Matters
What Actually Ships in a 3x2M Outdoor Rental LED Kit — and Why Every Part Matters
Most rental companies buy LED walls by the square meter and then discover, three days before a load-in, that the thing they actually needed was a spare receiving card, a proper flight case, or four more power links. The screen itself is rarely the problem. The kit around it is.
This article breaks down what is inside a 3 m x 2 m outdoor rental LED set — the cabinets, the modules, the control hardware, the rigging parts and the accessories that decide whether a show runs on time — and explains what each piece does on site. If you are evaluating a rental purchase, this is the list to check line by line before you sign.
The cabinet: twelve pieces of 500 x 1000 x 65 mm
A 3 m wide by 2 m high wall is built from twelve 500 x 1000 mm cabinets, not six. Each cabinet covers 0.5 m², so six square meters of finished screen means twelve physical pieces. That number matters for three reasons: truck space, labor time, and the number of connectors that can fail.
The cabinet is 65 mm deep, which is thin for an outdoor product. A shallow cabinet keeps the center of gravity close to the truss, reduces the lever arm on a flown screen, and makes the wall less prone to rocking in wind. It also means the wall sits closer to the stage backdrop, so the audience sees less of a “box” and more of a picture.
Each cabinet carries 128 x 256 pixels at a 3.91 mm pitch. Multiply that out and the finished 3 x 2 m wall is 768 x 512 pixels — just under 0.4 megapixels across six square meters, or roughly 65,400 pixels per square meter. That is the number your content team should design to. Anything authored at 1920 x 1080 will be downscaled, and fine text below about 14 px will start to break up at close viewing distance.
Modules: 250 x 250 mm, eight per cabinet, ninety-six per wall
Every cabinet holds eight 250 x 250 mm modules in a 2 x 4 grid. Ninety-six modules across the wall. Front-facing module seams are where cheap rental screens give themselves away: uneven gaps show up as dark lines the moment the camera pans, and they are the first thing a client notices in the delivery photos.
Module-level serviceability is what keeps a wall in the fleet. A single dead module can be swapped in minutes rather than pulling a cabinet out of the rig — and in a rental fleet, downtime is the actual cost, not the parts.
Control: Novastar receiving cards
The set runs on a Novastar control system, the de facto standard in rental and stage work. That choice matters more than it looks:
- Every technician you hire already knows the platform, so you are not training people on a proprietary tool mid-season.
- Sending cards, receiving cards and processors are available from multiple distributors, usually next-day.
- Mapping, brightness scheduling and backup configurations can be copied between screens, which is how a fleet stays consistent.
If you already run Novastar processors for other walls, this screen slots into the same workflow with no new software license and no new learning curve.
Power: Muen supplies, 200–240 VAC 60 Hz input
Each cabinet is fed by a Muen power supply and the set is specified for 200–240 VAC at 60 Hz input. Two practical notes:
- Voltage discipline. Below roughly 200 V, brightness and color stability start to drift, especially on long cable runs at the end of a daisy chain. On generators, check voltage under load, not at idle.
- Circuit planning. Do not max out a single feed. Split the wall across at least two circuits so a tripped breaker takes out half the screen instead of the whole picture — and so you can isolate a fault without going dark.
Back service: the reason this screen survives a season
The panels are rear-service. Modules are reached from behind the cabinet rather than the front. In a rental context that is the right call: rear access means you can replace a module on a flown wall from the stage side without dismantling the face, and without unrigging the truss.
It also shapes how you build. Leave a service corridor — 600 mm is workable, 800 mm is comfortable — between the wall and the backdrop. Crews that skip this step end up pulling entire columns for a five-minute module swap.
The parts nobody photographs but everybody needs
The difference between a kit and a pile of cabinets is in the accessories. When you compare quotes, put these on the table:
| Item | Why it matters on site |
|---|---|
| Flight cases | Foam-lined, wheeled, stackable. Determines whether cabinets arrive straight or bent. |
| Spare modules | Carry 2–3% of the fleet. One dead module on a client-facing wall is a visible defect. |
| Spare receiving cards | The single most common electronic failure. A spare card saves the show. |
| Power links and data cables | Cables fail far more often than panels. Count them, label them, carry extras. |
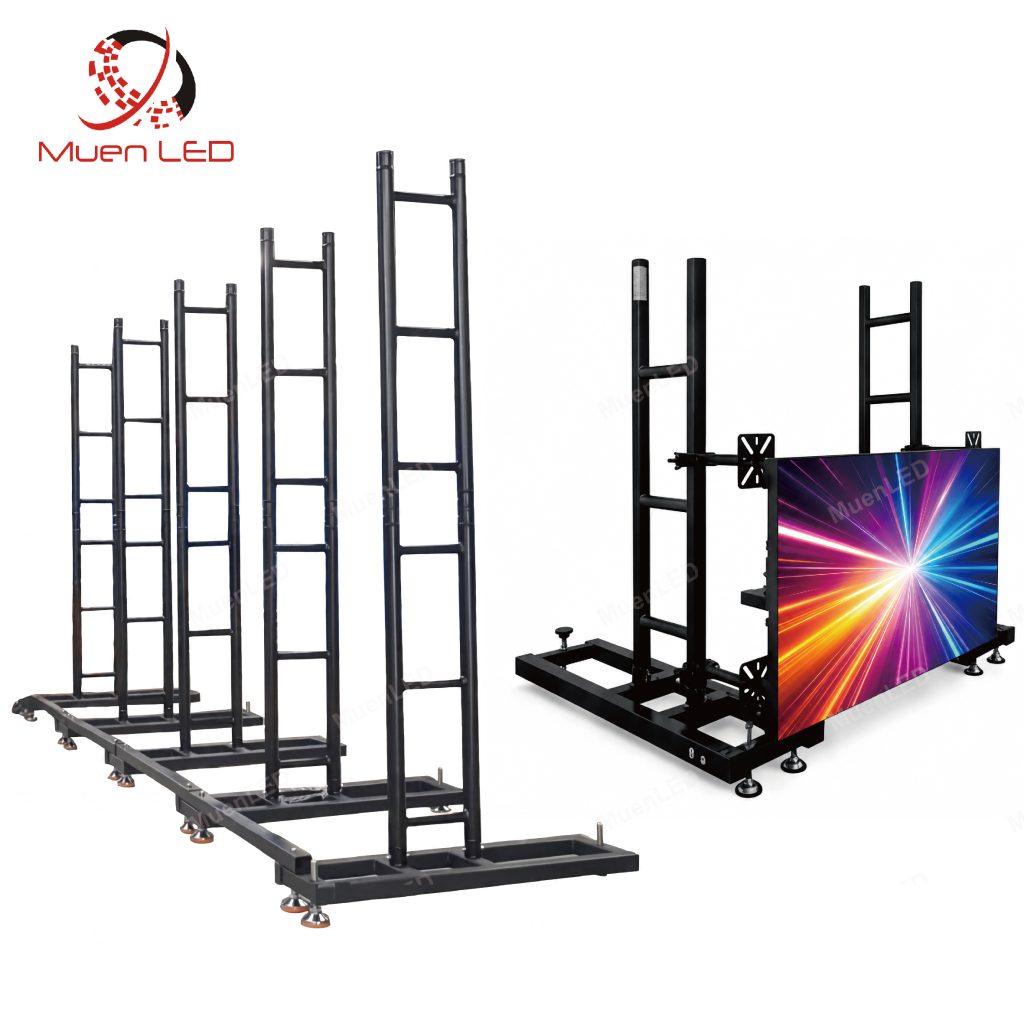
| Rigging clamps and couplers | Must match your truss. Mismatched clamps are a load-in day disaster. |
| Curved connectors | Optional, but they turn a flat wall into a design feature. |
| Alignment pins and spare fasteners | Small, cheap, and impossible to source at 2 a.m. on site. |
| Ground support or base bars | If you plan to ground-stack rather than fly, the base is not optional. |
Ask any supplier to itemize this list in writing. A quote that lists only “12 cabinets + 96 modules” is not a kit — it is a starting point for a lot of separate purchases.
What to check in the first hour after delivery
Unpack one cabinet at a time and run this sequence before you accept the shipment:
- Dead pixel scan — full white, full red, full green, full blue, then a gray ramp. Photograph any defects with the cabinet serial number visible.
- Module seating — press every module. Any that clicks into place was not seated, and would have shown as a shadow line under load.
- Connector pins — inspect the power and data ports for bent pins. Straighten nothing; report it.
- Cabinet squareness — stand it on a flat floor and check for rocking. A twisted cabinet never aligns cleanly in a rig.
- Magnet and latch check — open and close each latch. Stiff is fine, loose is not.
Do this with the supplier’s delivery note in hand, and record video. It is the difference between a warranty claim and an argument.
Is a 3 x 2 m kit the right starting size?
For a first purchase, 3 x 2 m is a deliberate choice rather than a compromise. It is small enough for one van and two technicians, large enough to be a credible stage backdrop for audiences of a few hundred, and it is the smallest size that still reads as a “wall” on camera instead of a “screen”. Most rental fleets start here rather than with a 6 x 3 m build, then add matching cabinets as bookings justify it — because the 500 x 1000 cabinet geometry lets two kits combine into 6 x 2 m or 3 x 4 m without buying anything new.
Details, drawings and the full specification for this configuration are on the ARC3.91 3x2M outdoor rental LED display set product page, including cabinet dimensions, module count and control options.
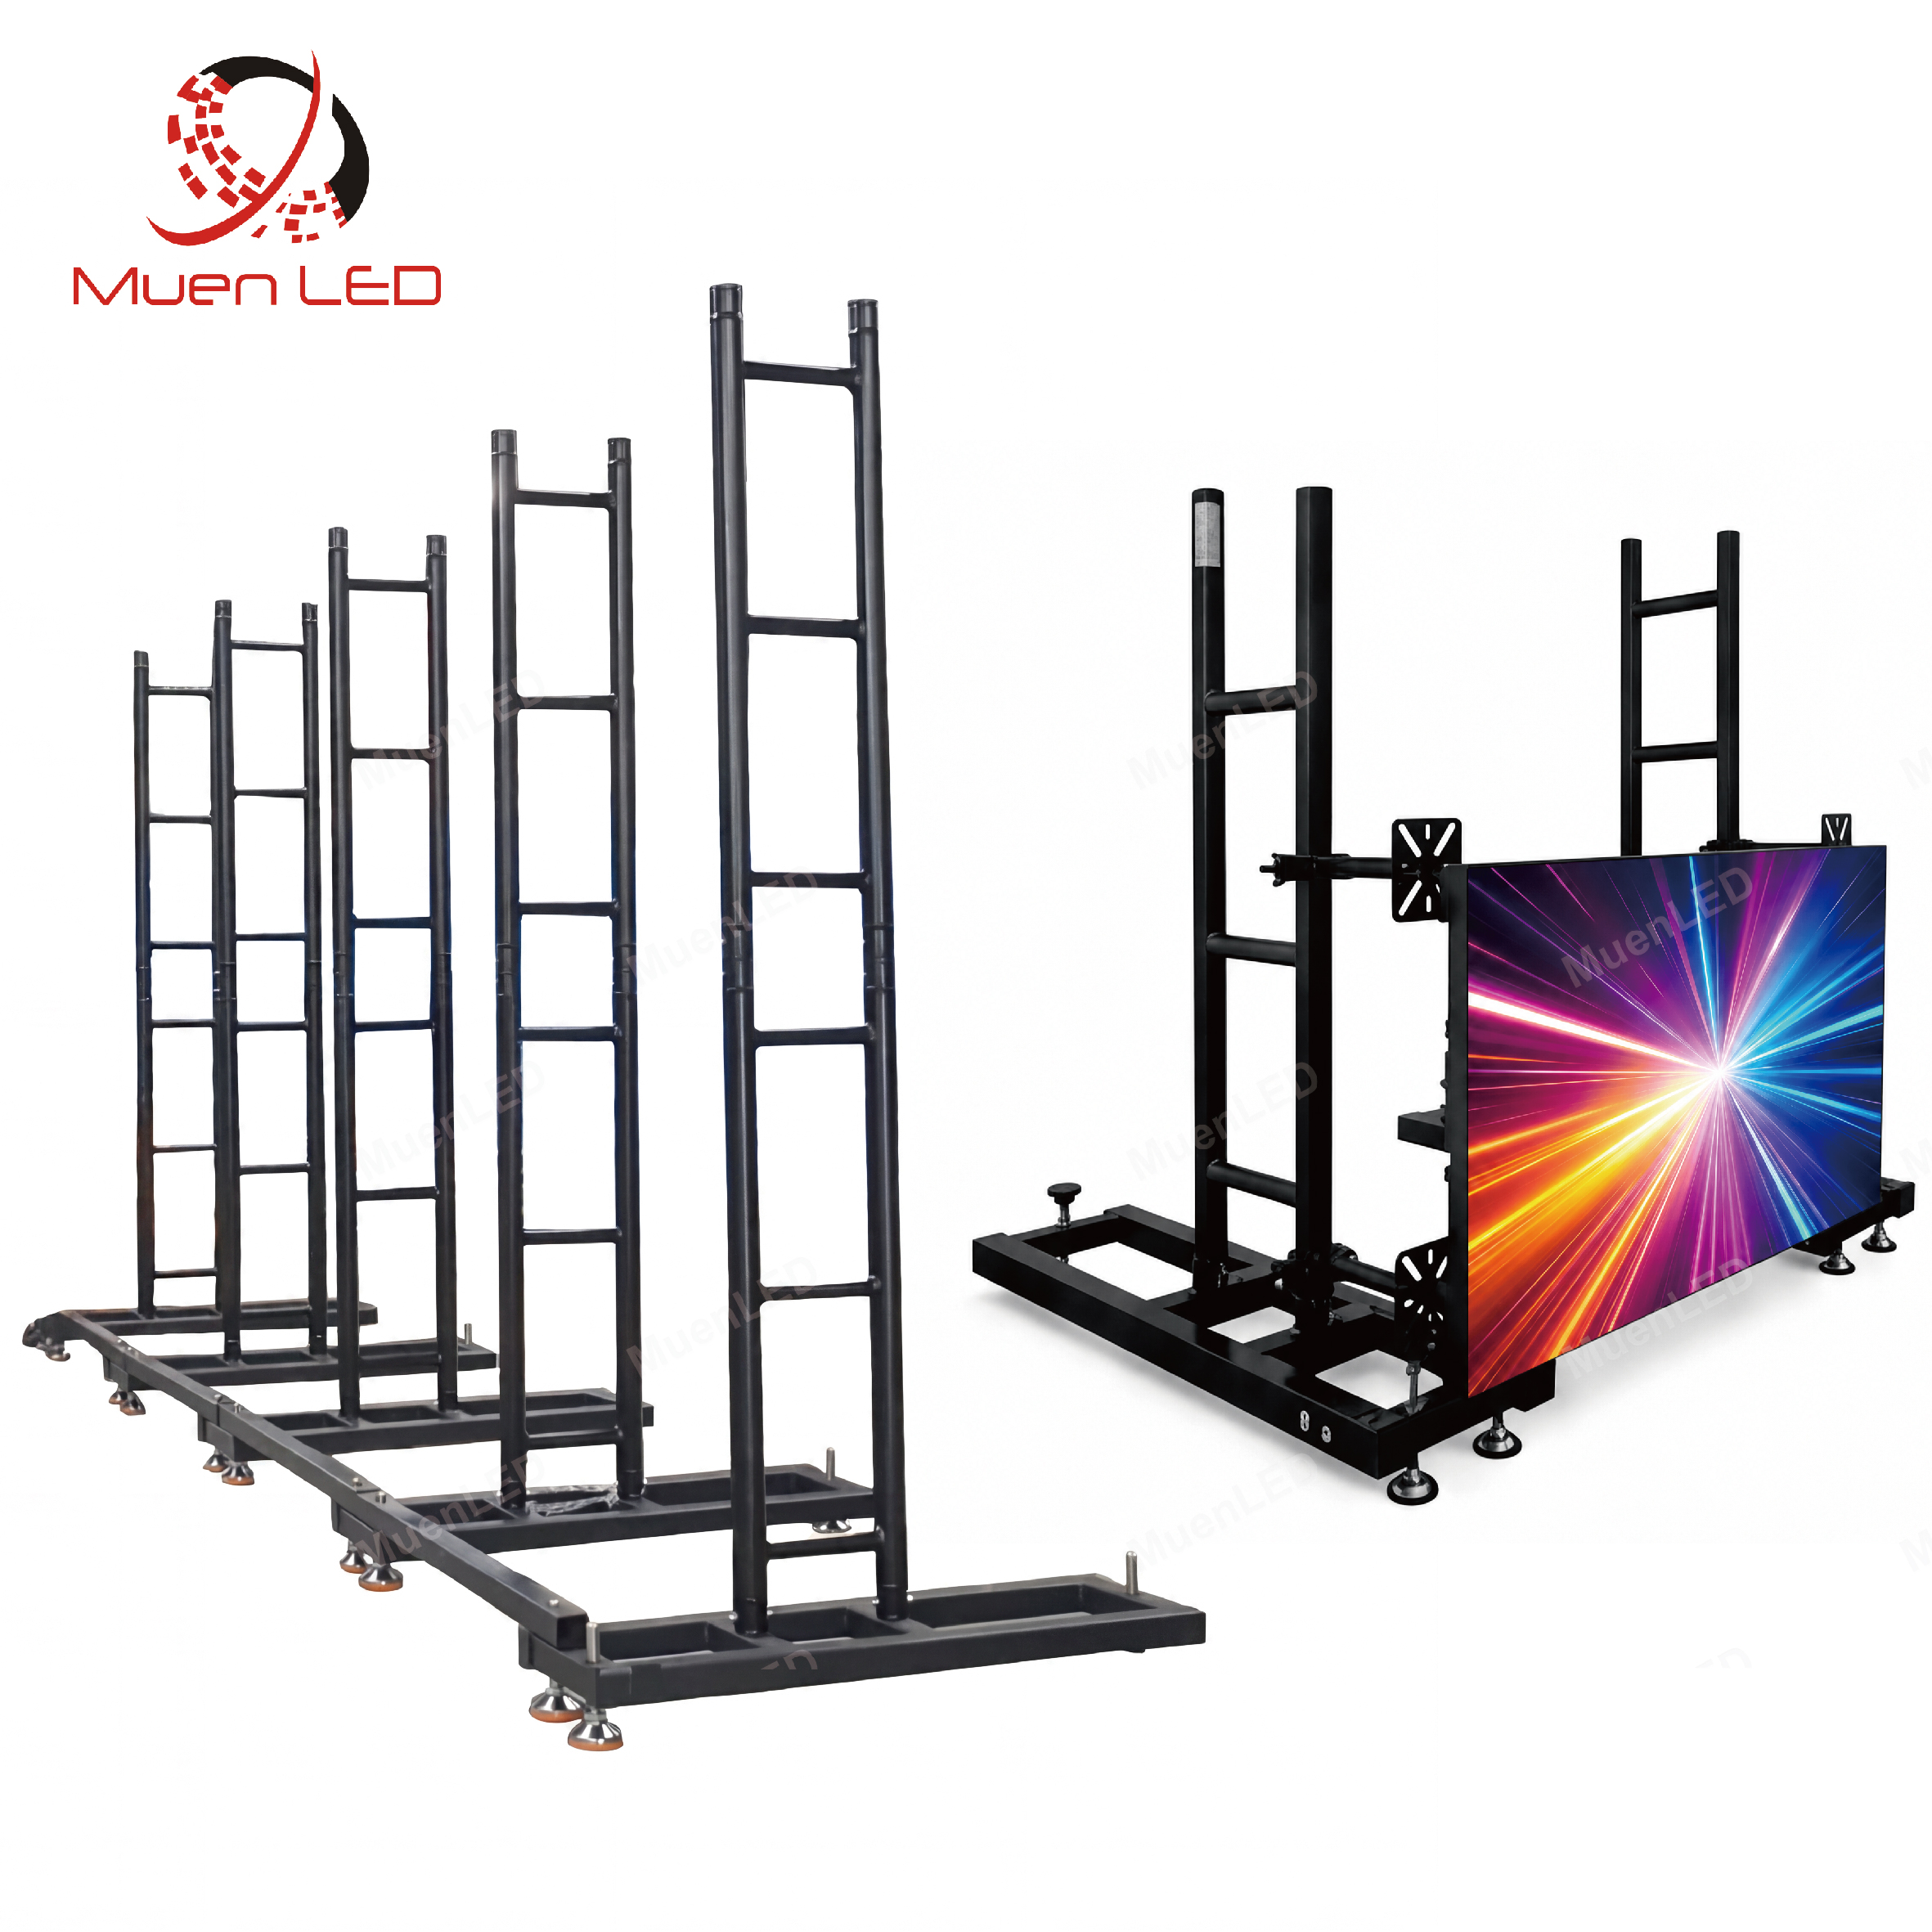
Figure 1 — A 3 x 2 m wall reads as a proper backdrop on camera, not as a large television.

Figure 2 — Rigging hardware and clamps are part of the kit decision, not an afterthought.

Figure 3 — Side screens and a center wall built from the same cabinet type: the most common festival configuration.
The short version
A 3 x 2 m outdoor rental kit is twelve cabinets, ninety-six modules, a Novastar control chain, IP65 sealing, rear service access and a box of accessories that will decide how your season goes. Buy the accessories with the screen, not after the first failure. Then check every cabinet on arrival, in writing, before it goes into the fleet.
If you want to compare this configuration against a larger build or a different pitch, the full product page lists the matching cabinet options so you can plan a fleet that grows instead of one that has to be replaced.