
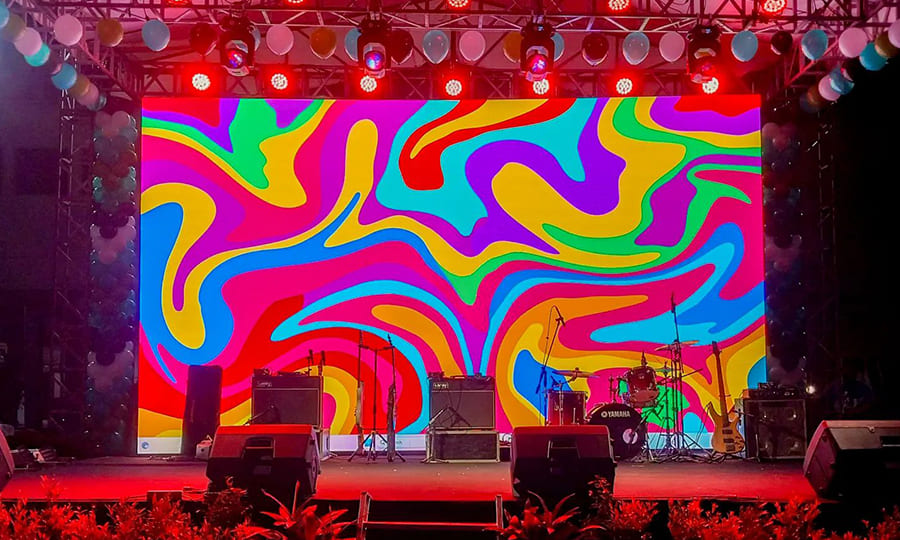
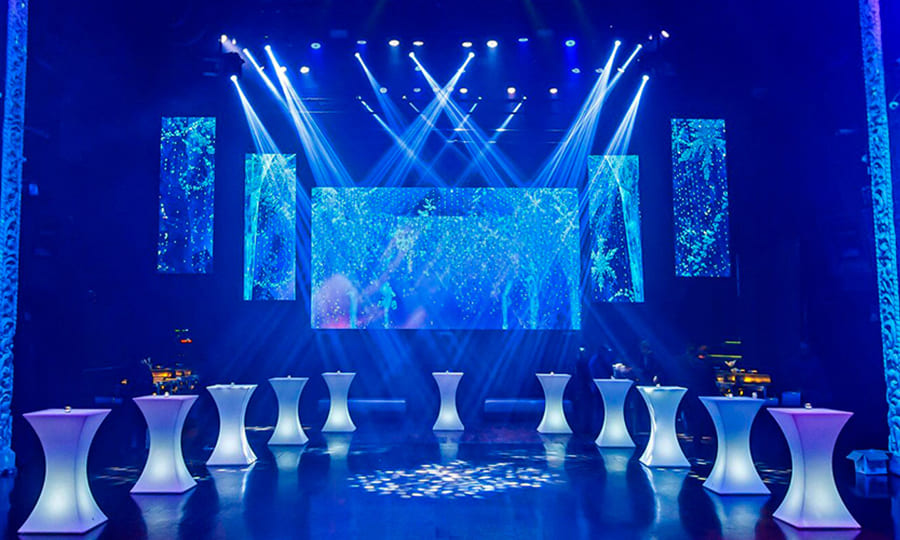
How to set up an LED display board?
Setting up an LED display board can seem daunting, but with the right guidance, it becomes a straightforward task. Whether you’re an event planner, nightclub owner, or in the event rental business who want to decorate wedding or stage settings, this guide will walk you through the process step by step.
How Do LED Display Boards Work?
An LED display board works by using red, green, and blue LEDs mounted in a fixed pattern to form pixels. By adjusting the intensity of these LEDs, a wide range of colors can be created. When viewed from a certain distance, the individual colored pixels blend together to form clear images and videos.
When we use the LED display board, a control system is needed, allowing people to manipulate the system to adjust the display content in real-time. LED display boards also require a stable power supply to maintain continuous operation. They are equipped with water-proof and dust-proof technology to ensure the screens function properly in both indoor and outdoor environments.
How Do I Program My LED Display Board?
Programming an LED display board involves several steps to ensure it operates correctly.
First, Input the number of LEDs in width and height on your LED display.Next, select the module type, which refers to the distance between the centers of two LEDs placed alongside each other. This distance impacts the resolution of your display. Turn off the default settings, select the appropriate luminance, and choose the refresh rate.
Following these steps will help you set up your LED display board effectively.
How to Set up a LED Display Board?
In this session, I will explain in detail how to install and configure a LED display board. Also, I will give you a brief introduction of different modes of LED display board installation. Follow me!
How to Install and Configure a LED Display Board?
Here are the standard steps for installing all types of displays, ensuring each step follows safety procedures and manufacturer instructions.
◆Check all equipment and tools, ensuring necessary tools and accessories are ready. Select the best installation location, measure, and mark the points to ensure they are level.
◆Choose a suitable bracket based on the display’s size and weight, and secure it to the wall with a drill and screws, ensuring it is firmly attached.Currently, there are many types of brackets available on the market, such as wall bracket, ceiling bracket, and floor-stand bracket. You can select the bracket according to your need.
◆Lay out the power and data cables, ensuring they are the appropriate length and aesthetically placed. Check the power and data interfaces to ensure compatibility.
◆Hang the display on the bracket and secure it firmly, ensuring no loose parts. Connect the power and data cables, ensuring reliable connections.
◆Turn on the power to check if the display starts up normally. Adjust the brightness, contrast, resolution, and other settings for optimal display performance. Test the signal input to ensure the image and sound are functioning correctly.
The following chart details the installation and configuration process for TOP dance LED displays. A video is also provided at the end for your reference.
| STEP | Installation | Configuration |
|---|---|---|
| 1 | Install the bottom part of the brackets | Connect the power cables and control cables to each LED display panel sequentially |
| 2 | Place the hardware connecting the two brackets | Connect the main data cable |
| 3 | Attach the upper part of the brackets | Connect the HDMI cable |
| 4 | Install the bottom part of the brackets on the other side | Connect the controller power cable |
| 5 | Place the hardware connecting the two brackets | Connect the main power cable |
| 6 | Attach the upper part of the brackets | Upon successful installation |
| 7 | Install the middle section of the bracket | ——- |
| 8 | Install the other end | |
| 9 | Install the outermost bottom crossbar | |
| 10 | Install the bottom middle support crossbar | |
| 11 | Install the middle support crossbar | |
| 12 | Take out the LED display panel |
In this video, we’ll demonstrate how to install LED display boards to create an LED display wall. We’ll show you how to configure your LED display to showcase images or videos.
Various Modes of LED Display Board Installation
LED displays boards can be installed in various ways to suit different settings and purposes. Here, I have categorized them into five types for your reference.
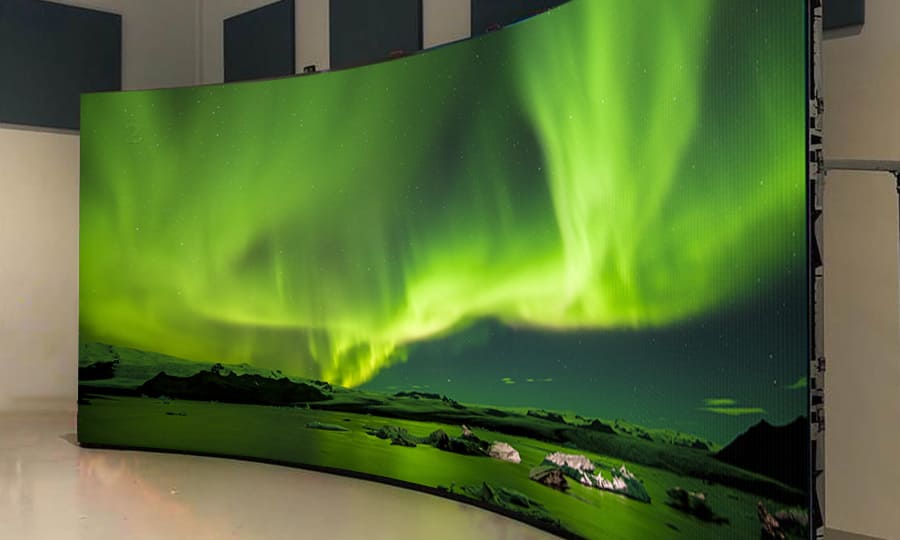
Curved Installation Mode
This installation method involves bending the display panels to conform to a curved surface. It is ideal for creating immersive environments, such as in theaters or exhibition halls, where a panoramic view enhances the visual experience.
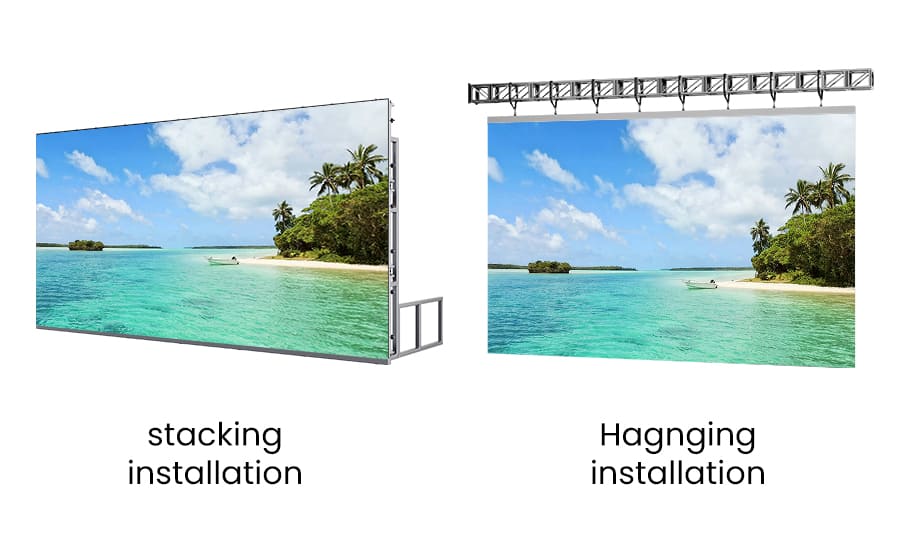
Hanging Installation Mode
In this method, the display is suspended from the ceiling or overhead structure, typically using cables or rods. It’s suitable for large venues like airports or trade show centers, where floor space is valuable and visibility from a distance is crucial.
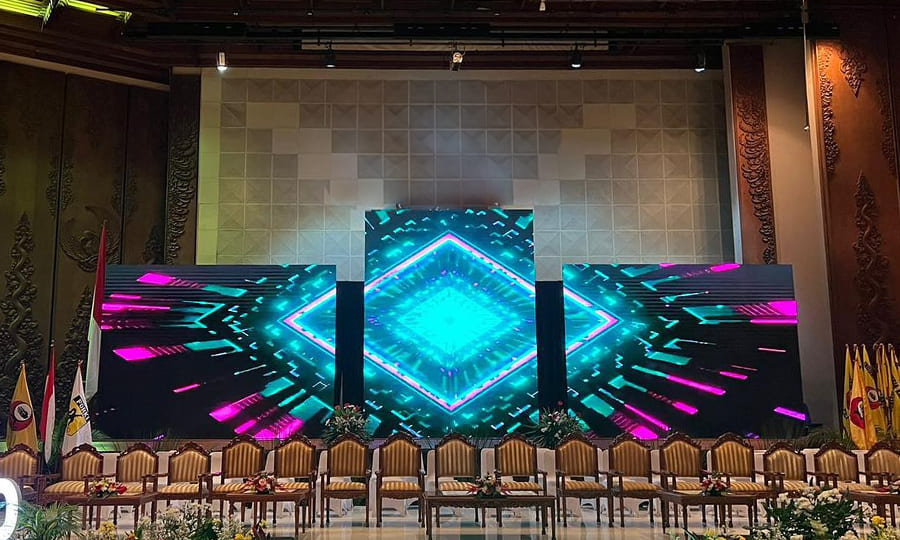
Bracket Installation Mode
Bracket installation uses metal brackets to secure the display in a specific location, either freestanding or against a structural support. This versatile method is common in both indoor and outdoor settings, such as shopping malls or outdoor arenas.

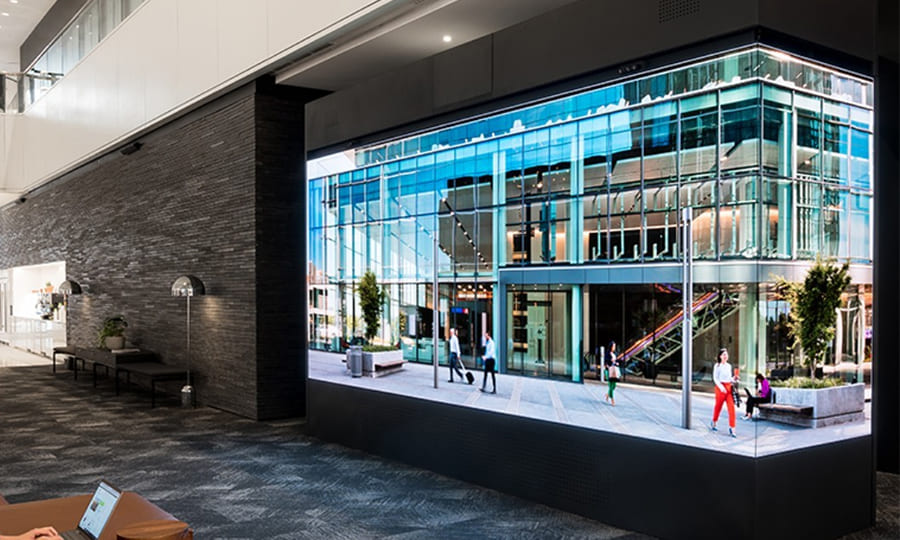
Wall-Mounted Installation Mode
Wall-mounted displays are fixed directly onto a wall, saving floor space and providing a clean and unobtrusive look. This is popular in settings such as retail stores, restaurants, or any venue where space is at a premium.
Corner Installation Mode
Corner installation is designed to fit displays into the corner of a room or structure, utilizing space that might otherwise go unused. This method is effective for advertising or information displays in corridors or smaller retail environments, maximizing visibility in compact areas.
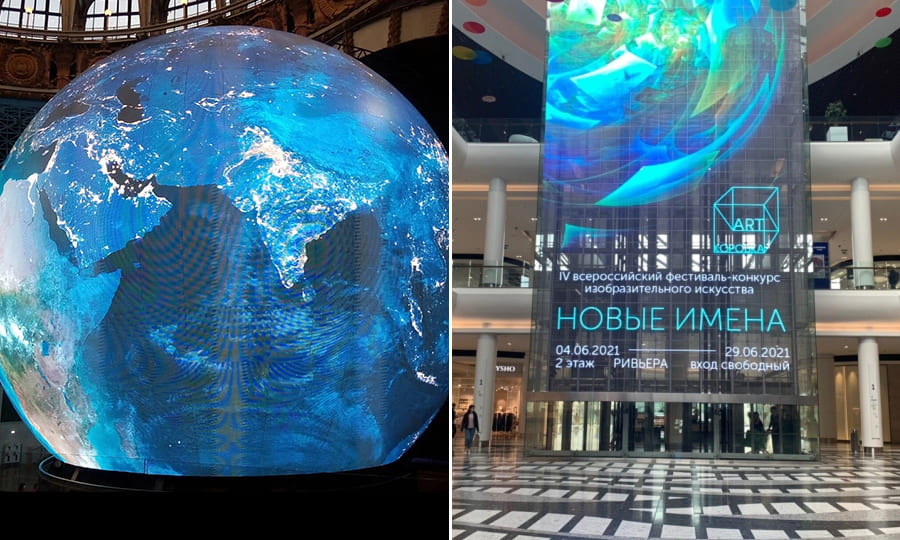
There are also other types of LED display board, like spherical display and transparent display boards. The installation methods for them are notably different. It is because of the modules of both spherical and transparent displays are flexible, allowing them to be assembled into the desired shapes.
Best Software for LED Display Board
Selecting the best software for your LED display board depends on your specific needs. Popular options include LED Vision, NovaLCT, and HDPlayer. These programs offer user-friendly interfaces and comprehensive features for managing display settings, creating content, and scheduling playback.
How to Write on LED Display Board
Writing on an LED display board can be done through the control software:
Open the Software: Launch the LED control software on your computer.
Select the Text Tool: Choose the text tool to create a new text box.
Input Your Message: Type in the desired text and adjust the font, size, and color.
Save and Send: Save the changes and send the content to your LED display board.
LED Display Board Programming Software Free Download
For those seeking free programming software for LED display boards, several options are available:
LED Control Software
Free versions often come with basic features for simple programming needs.
◆Madrix: Offers a basic free version that allows users to explore effects and familiarize themselves with the software, suitable for those new to LED control.
◆Freestyler: Known for its user-friendly interface, this software is ideal for DJs and event technicians. The basic version is free and supports straightforward light shows for LED dance floors.
◆Lightjams: Although it offers extensive programming capabilities, Lightjams also provides a demo version that can be used for free with some limitations, perfect for users looking to explore complex programming without financial commitment.
Summary
Setting up an LED display board involves careful planning and the right tools. By following the steps above, you can ensure a successful installation and operation of your LED display. If you have any questions, feel free to contact us through our website!