How to install an interactive LED floor screen?
When you want to create an interactive LED floor screen, but don’t know where to start? In order to help you better create an interactive LED floor screen, we will introduce the creation process in detail!
Select the type
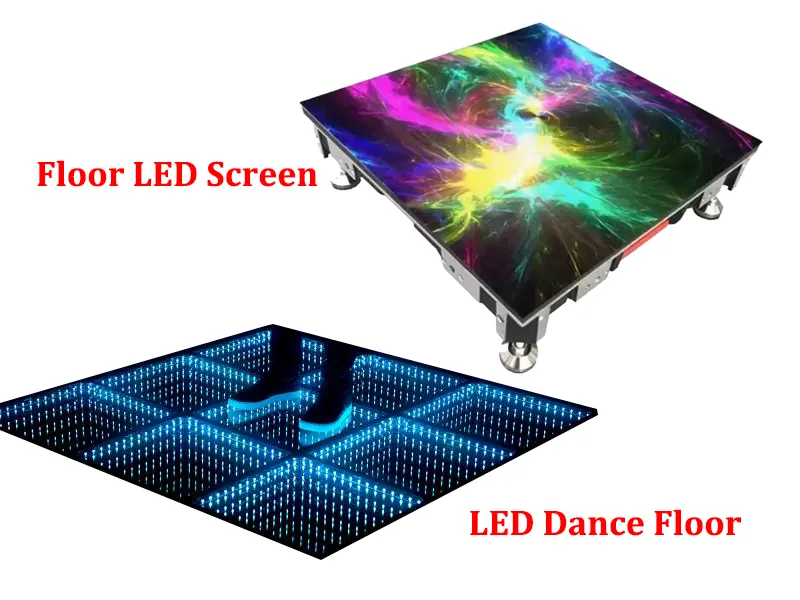
In the first place, you need to select the type of interactive LED floor screen. There are two main types of interactive LED floor screens: LED floor screens with built-in chips and external radars of LED floor screens.
For the first type of interactive LED floor screen, the built-in chip is mainly installed on the interactive LED floor screen module, which can sense people’s footsteps from the front, thereby enabling the interactive LED floor screen to produce the corresponding interactive effect.
For the second type of interactive LED floor screen, the radar is installed on the edging material of the interactive LED floor screen, which scans people’s movements from the side through light and transmits the scan data to the interactive LED floor screen, causing the interactive LED floor screen to display different images.
Check and prepare the components for creating the screen
After determining the type of interactive LED floor screen, you can place an order with MuenED. After placing the order, you should inspect the LED components shipped from MuenED for any missing or damaged items. If any are found, contact MuenED promptly to have the LED components reshipped to you.
If you are unsure which LED components are missing, please refer to the following interactive LED floor screen component list:
- Edging material
- Floor support structure with two foot cups
- Floor support structure with four foot cups
- Power cable
- Signal cable
- Controller
- Interactive LED cabinet
It should be noted that if you choose the external radar type, you also need to check whether there is a radar in the LED components; if you choose the built-in chip type, you can check according to the above list.
Measure the actual size
After you are ready to create the interactive LED floor screen components, use a tape measure to measure the location where you want to install it to see whether it matches the design dimensions provided by JYLED. If the actual measured size matches the design dimensions, you need to perform a fixed-point operation on the four corners to improve the accuracy of the installation. After completing the measurement and fixed-point operation, you can start creating the interactive LED floor screen.
Create an interactive LED floor screen
Understand the floor support structure
You should know that the floor support structure with two foot cups is installed on the periphery of the interactive LED floor screen to connect and fix the two peripheral interactive LED cabinets. The floor support structure with four foot cups is installed inside the interactive LED floor screen to support the four corners of the screen and connect and fix the four adjacent interactive LED cabinets.

Check the design plan
Before installation, you should first check the design plan of the interactive LED floor screen to determine the order and direction of installation of the interactive LED cabinets, determine the number of interactive LED cabinets in each row and column, and reduce the probability of installation errors.
Installing the first interactive LED floor cabinet
Follow the design plan to position the floor support structure in the corresponding location, then install the signal cables and power cables on the interactive LED floor cabinet.
Then, refer to the arrow markings inside the interactive LED floor cabinet and the design plan to determine the installation direction. Once the direction is confirmed, align the small round holes on the interactive LED floor cabinet with the protruding parts of the floor support structure and secure the installation.
At last, check if the installed interactive LED floor cabinet is tilted. If it is, adjust the height using the floor support structure to keep the screen flat. Note that the adjusted screen height must match the height of the edging material.
Installing the second interactive LED floor cabinet
The installation of the second interactive LED floor cabinet follows the same procedure as above. Begin by placing the floor support structure, determine the installation direction, and install the interactive LED floor cabinet with power cables and signal cables onto the floor support structure. Check the screen flatness and adjust the screen height.
At this point, connect the power cables and signal cables from the second interactive LED floor cabinet to the cables of the first interactive LED cabinet to complete the installation of the second interactive LED cabinet.

Handling the edging material
The subsequent interactive LED cabinets are installed repeatedly according to the above installation method. After all the interactive LED floor cabinets are installed, you need to start processing the edging material. The edging material is sectioned, and you need to use connecting pieces and screws to fix the two sections of edging material.
In the end, place the assembled edging material around the perimeter of the interactive LED floor screen to cover the bottom support structure and enhance the overall aesthetics of the interactive LED floor screen.

If you are installing an interactive LED floor screen with an external radar, you need to fix the edging material in place, install the radar on the edging material, and connect the radar to the controller with a connecting cable to complete the radar installation.
Testing and debugging
After the interactive LED floor screen is installed, press the button on the controller to display different colors on the interactive LED floor screen. These display screens will show you the color, brightness, contrast, and other conditions of the interactive LED floor screen, helping you to better understand the interactive LED floor screen.
After the interactive LED floor screen test is complete, it needs to be debugged. You need to connect the computer, video processor, and interactive LED floor screen controller with a special cable, download the LED control software corresponding to the controller brand to your computer, and adjust the display screen of the interactive LED floor screen according to the tutorial video.
Playing the display screen
After debugging is complete, you can control the interactive LED floor screen through the dedicated interactive control software, upload interactive materials, and allow the interactive LED floor screen to capture the actions of pedestrians stepping, jumping, walking, running, etc., so that the screen displays different images, thereby presenting an interactive effect.
Conclusion
Overall, creating an interactive LED floor screen is not complicated. As long as you understand the installation direction and method, you can quickly get started with the installation. If you encounter difficulties in the process of creating an interactive LED floor screen, you can contact MuenED, and we will remotely guide you through the operation and solve your problems.