Analysis of Novastar H9: Technical Advantages, Adaptation Scenarios, and Configuration Suggestions
In 2026, the Novastar H9 remains one of the most capable video wall processors for driving large, high-resolution LED displays—especially in control rooms, broadcast studios, and mission-critical command centers where stability and real-time performance matter. As a true video wall splicer, it can composite dozens of live sources into a single, seamless LED canvas.This guide shows you exactly how to set it up, configure your screen layout, and operate it—all through a standard web browser, with no additional software required.
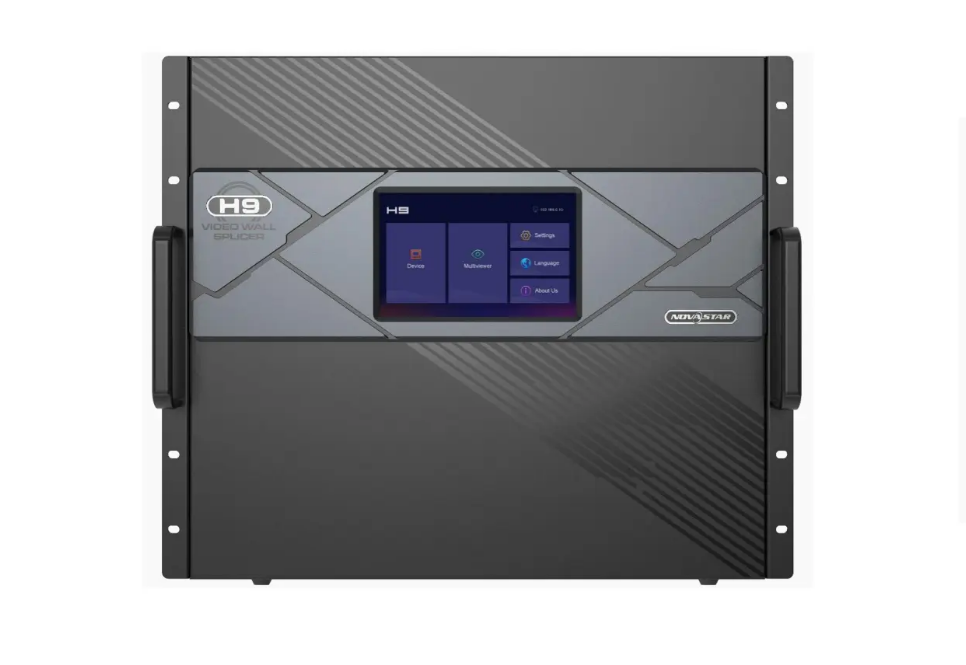
1.What is the Novastar H9 video wall splicer?
Novastar H9 is a modular, rack-mounted video wall processor designed specifically to drive large-scale LED video walls—not LCD or projection systems. It acts as the central “brain” that takes multiple video inputs (HDMI, DP, DVI, fiber, etc.), composites them into layered scenes, and outputs pixel-accurate signals to LED sending cards via Ethernet or fiber.


Novastar H9 Key functions include:
Multi-source & multi-layer control
You can connect up to 60 video sources—cameras, PCs, media players, NDI streams—and arrange them freely on your LED screen. Need a live camera in the top-left, a PowerPoint slide in the center, a scrolling ticker at the bottom, and a map overlay on top? The Novastar H9 composites all of them in real time as separate layers, with independent sizing, positioning, and transparency.
High-quality video processing
The H9 handles 4K60 inputs natively and scales them smoothly to your LED wall’s native resolution. Unlike basic scalers that crop, stutter, or desync, it uses dedicated FPGA hardware to maintain frame accuracy, color fidelity, and timing—critical for broadcast, control rooms, or live events.
Instant scene switching
Save complete screen layouts (including layer positions, sources, and window sizes) as presets. During operation, switch from “normal monitoring” to “emergency alert” mode with one click in the web interface—no reboot, no black flash, no delay. Everything changes in real time.
Browser-based operation
You don’t need to install NovaLCT or any other application. Open Chrome on any laptop connected to the same network, log into the H9’s IP address, and manage layers, inputs, outputs, and presets directly. This makes deployment faster and avoids IT restrictions in secure environments.
2.What are the key specs and limitations of the H9?
Novastar H9 video wall splicer delivers professional performance, but it’s not universal—it has specific capabilities and boundaries. Below are the official specs (based on the H9 Enhanced chassis, the most common model) and real-world constraints you need to know before deployment.
Key Specifications
| Category | Specification |
| Input Channels | Up to 60 (via input boards: HDMI 2.0, DisplayPort 1.2, DVI, SDI, Fiber) |
| Output Channels | Up to 40 (via output boards: RJ45 or Fiber to sending cards) |
| Max Pixel Capacity | 208 million pixels (requires H_4xFiber sending cards) |
| Max Resolution per Output | 4096×2160 @60Hz (4K) |
| Layer Support | Up to 80 layers per sending card (real-time composition) |
| Control Interface | Web browser (HTTP/HTTPS), no PC software required for daily operation |
| Multiviewer Output | 1× HDMI (shows all active inputs as thumbnails) |
| Preset Storage | 100+ scene presets (saved internally) |
| Hardware Diagnostics | Built-in self-test for input/output boards, temperature, fan status |
| Physical Form | 4U rack-mount chassis, horizontal placement only |
| Power Supply | Dual redundant power supplies (hot-swappable) |
 100vw, 1200px” data-dt-location=”https://www.eagerled.com/novastar-h9-video-wall-splicer/novastar-h9-dimensions/” data-lazy-src=”https://www.eagerled.com/wp-content/uploads/2025/12/Novastar-H9-Dimensions.webp” /></div>
</figure>
</div>
<div id= "Novastar H9 Dimensions LED Display Manufacturer in China EagerLED")
Novastar H9 video wall splicer Key Limitations to Consider
No direct LED output
The H9 only outputs to Novastar sending cards (e.g., H_16xRJ45+2xFiber). It cannot connect directly to LED panels or non-Novastar receiving systems.
No built-in scaling for mismatched resolutions
While it handles 4K inputs well, it does not automatically scale or crop arbitrary resolutions to fit your LED layout. You must configure screen mapping manually via the web UI.
No audio embedding or extraction
The H9 processes video only. Audio must be handled separately (e.g., via external mixer or embedded in HDMI if your display supports it).
Web interface requires same network
You can’t control the H9 over the internet by default—only devices on the same local subnet can access its web page unless you configure VLANs or port forwarding.
3.What is the Novastar H9 used for?
Novastar H9 isn’t meant for home theaters or small conference rooms. It’s built for professional environments where large LED video walls must run reliably, display multiple live sources, and switch layouts instantly. Here are the most common real-world uses:
 100vw, 1200px” data-dt-location=”https://www.eagerled.com/novastar-h9-video-wall-splicer/novastar-h9-applications/” data-lazy-src=”https://www.eagerled.com/wp-content/uploads/2025/12/Novastar-H9-Applications.webp” /></div>
</figure>
</div>
<div id= "Novastar H9 Applications LED Display Manufacturer in China EagerLED")
Emergency & Traffic Command Centers
Operators need to monitor dozens of camera feeds, GIS maps, sensor data, and communication channels on one giant LED wall. Novastar H9 lets them arrange all these sources in custom layouts and switch to “emergency mode” with a single click—no delay, no black screen.
Broadcast Studios & Live Production
TV stations use the H9 to composite live camera feeds, graphics, lower-thirds, and replay clips onto studio LED backdrops or on-air video walls. Its low-latency processing ensures everything stays frame-accurate during live shows.
Corporate Lobbies & Control Rooms
Large companies deploy H9-driven LED walls to show real-time dashboards (sales, logistics, network status), welcome messages, and executive presentations—all on the same screen. Presets allow switching between “visitor view” and “internal monitoring” in seconds.
Transportation Hubs (Airports, Rail Stations)
The H9 video wall splicer powers massive information displays that combine flight/train schedules, security camera views, public announcements, and emergency alerts. Its 24/7 reliability and self-diagnostic features prevent unexpected blackouts in high-traffic areas.
Event & Rental LED Walls
For concerts, trade shows, or product launches, rental companies use the H9 because it can be controlled from any laptop via browser—no software install—and supports quick scene changes during live events. Its modular design also allows scaling from small to massive walls using the same workflow.
4.Is the Novastar H9 worth buying in 2025?
Yes—if you’re building or upgrading a professional LED display that needs to run 24/7 with zero tolerance for failure.
No—if you just need a simple full-screen loop or are on a tight budget.
It’s worth it if:
- You’re installing a large LED video wall (e.g., 4K or larger) in a control room, broadcast studio, traffic center, or corporate command hub—places where downtime means lost revenue, safety risk, or reputational damage.
- You need to show multiple live sources at once (cameras, PCs, maps) and switch layouts instantly during operations.
- Your IT policy blocks third-party software—the H9’s browser-only control is a real advantage.
- You already use (or plan to use) Novastar sending/receiving cards, so the system integrates cleanly.
- You value hardware reliability: dual power supplies, self-diagnostics, and FPGA-based processing still beat most PC+software solutions for long-term stability.
It’s not worth it if:
- You only need to play a single video loop or show one laptop screen on your LED wall. A basic media player or scaler would cost 1/5 as much.
- You’re using non-Novastar LED panels (e.g., Brompton, ROE, or custom systems with non-standard receiving cards). The H9 won’t work without compatible sending cards.
- Your project is temporary or low-budget (e.g., a pop-up retail display). Renting or using a software solution like Watchout or disguise might be more flexible.
- You expect “plug-and-play.” The H9 requires proper configuration of screen mapping, network IPs, and sending card topology—it’s not beginner-friendly.
5.How do you set up and use the Novastar H9 for the first time?
Setting up the H9 isn’t plug-and-play—but if you follow these steps in order, you’ll get your LED wall running in under an hour. No software install required.
Step 1: Install hardware correctly
- Mount the H9 in a 4U rack, with at least 10 cm of space on both sides for airflow.
- Insert input boards (e.g., HDMI/DP) and output boards (e.g., RJ45 or Fiber) into the chassis as needed.
- Connect dual power supplies to separate circuits (recommended for 24/7 operation).
- Do not connect LED panels directly—the H9 only outputs to Novastar sending cards (e.g., H_16xRJ45+2xFiber).
 100vw, 1200px” data-dt-location=”https://www.eagerled.com/novastar-h9-video-wall-splicer/novastar-h9-hardware-connections/” data-lazy-src=”https://www.eagerled.com/wp-content/uploads/2025/12/Novastar-H9-Hardware-connections.webp” /></div>
</figure>
</div>
<div id= "Novastar H9 Hardware connections LED Display Manufacturer in China EagerLED")
Step 2: Connect your system
- Plug video sources (cameras, PCs, etc.) into the H9’s input ports.
- Use Cat6/fiber cables to connect the H9’s output ports to your sending cards.
- Connect the sending cards to your LED receiving cards via standard data cables.
- Plug an HDMI monitor into the H9’s Multiviewer port (optional but highly recommended for monitoring).
Step 3: Configure network IPs
- The H9 video wall splicer ships with default IP: 192.168.0.100 (subnet mask 255.255.255.0).
- Set your laptop to the same subnet (e.g., 192.168.0.10).
- Open Chrome and go to http://192.168.0.100 → log in (default user: admin, password: admin).
- Change the H9’s IP to match your site network (e.g., 10.10.50.200) and reboot if needed.
Step 4: Map your LED screen
- In the web UI, go to Screen Settings → enter your LED wall’s physical resolution (e.g., 3840×1080) and cabinet layout (e.g., 8×3 modules).
- Assign each sending card to its correct position on the screen.
- Save the screen configuration—it’s stored inside the H9.
 100vw, 1322px” data-dt-location=”https://www.eagerled.com/novastar-h9-video-wall-splicer/led-screen-configuration/” data-lazy-src=”https://www.eagerled.com/wp-content/uploads/2025/12/LED-screen-configuration.webp” /></div>
</figure>
</div>
<div id= "LED screen configuration LED Display Manufacturer in China EagerLED")
Step 5: Add sources and build your layout
- Go to Input Management → the H9 will auto-detect active sources.
- Drag any input onto the virtual screen canvas. Resize, move, or layer it as needed.
- To add text, tickers, or overlays, use the built-in Graphic Layer tool (no external graphics PC needed).
- Click Save Preset to store this layout (e.g., “Day Mode”).
Step 6: Start using it daily
From now on, control everything from any laptop on the same network:
- Switch presets with one click
- Monitor all inputs via the multiviewer HDMI output
- Check system health under Diagnostics
No PC software is needed for daily operation—only for initial sending card IP assignment (if not done via Novastar H9).
6.How do you add and manage layers on the Novastar H9?
Layers let you show multiple sources—like cameras, slides, tickers, or graphics—on the same LED wall at once. On the H9, you create and control them entirely through a web browser. Here’s how:
Step 1: Open the layer workspace
- Open Chrome and go to the H9’s IP address (e.g., http://192.168.0.100).
- Log in → click “Screen Layout” or “Layer Management” (depending on firmware version).
- You’ll see a virtual canvas matching your LED wall’s resolution.
Step 2: Add a new layer
Click “+ Add Layer” → choose source type:
- Input: Select from live sources (HDMI 1, DP 2, etc.)
- Graphic: Upload a PNG with transparency (for logos, lower-thirds)
- Text: Create a scrolling ticker or static label (set font, color, speed)
The layer appears as a movable window on the canvas.
 100vw, 1326px” data-dt-location=”https://www.eagerled.com/novastar-h9-video-wall-splicer/add-a-new-layer/” data-lazy-src=”https://www.eagerled.com/wp-content/uploads/2025/12/Add-a-new-layer.webp” /></div>
</figure>
</div>
<div id= "Add a new layer LED Display Manufacturer in China EagerLED")
Step 3: Adjust position, size, and order
- Drag the layer to move it anywhere on the screen.
- Resize by dragging its corners (aspect ratio can be locked/unlocked).
- To change layer order (which one appears on top):
Select the layer → use “Bring Forward” / “Send Backward” buttons or drag it up/down in the layer list panel (Z-order matters for overlays)
Step 4: Save your layout as a preset
- Once your layers are arranged, click “Save Preset”.
- Give it a name like “Emergency Mode” or “Morning Briefing”.
- The H9 stores it internally—no external drive needed.
Step 5: Switch or edit layers during operation
- To recall a layout: open the web UI → click any saved preset → it loads instantly.
- To tweak a live layer: just select it and adjust position/size—changes apply in real time, no restart.
- To delete a layer: select it → click “Delete” or press Delete key.
7.Conclusion
Now that you understand the capabilities and setup of the Novastar H9 video wall splicer, you’re equipped to manage high-performance LED displays with confidence. For the latest firmware, configuration tools like NovaLCT, or detailed technical documentation, visit www.novastar.tech. If you need help optimizing your setup or selecting the right controller for your project, reach out to an authorized Novastar partner—because every great display starts with a smarter controller.