The Ultimate Guide to Building LED Display Screen
The staggering price tag of professional LED display often sends event planners and venue managers running for the hills. I’ve seen countless projects abandoned when quotes climb into five figures. But here’s the truth: learning how to build LED display systems yourself can slash those costs dramatically while giving you full control over the final product.
In this comprehensive guide, I’ll walk you through everything you need to know about constructing your own LED display, from understanding different screen types to mastering various installation methods. Drawing from my 30 years in the industry, I’ll demystify this process and help you avoid costly mistakes that even seasoned professionals make.
Understanding How to Build LED Display Types
Before picking up a single tool, you need to understand what type of LED display best suits your needs. This foundation determines every subsequent decision in your build process.
LED Screens
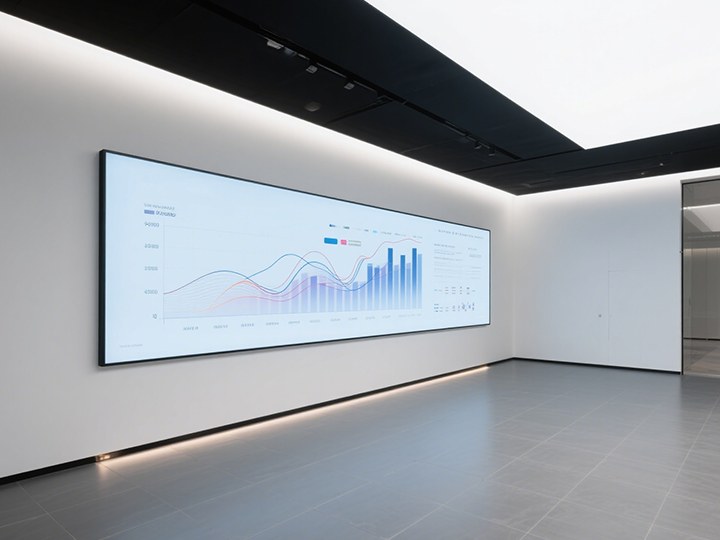
LED screens are the workhorses of the LED panel display board world. These flat, rigid displays excel in traditional settings like corporate lobbies or retail storefronts.
Many digital signage providers favor these LED screens due to their versatility and the LED forward mounting options they offer. If your project requires reliability without undue complexity, LED screens are an excellent starting point for your installation.
Curved LED Screens
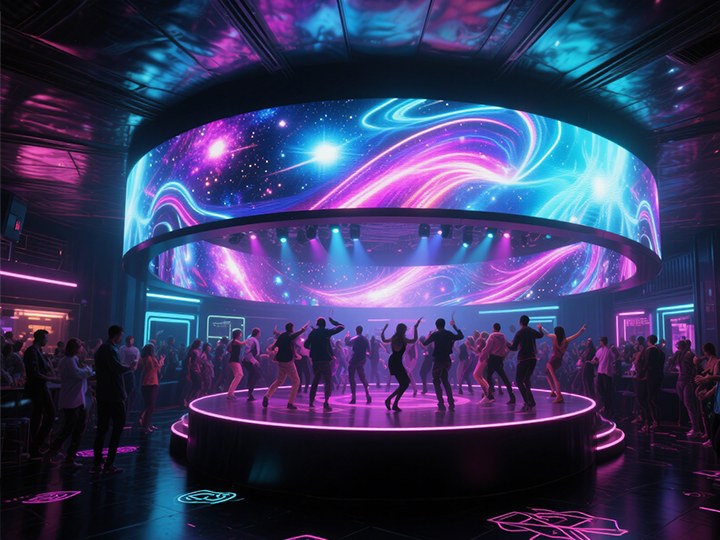
When immersion matters, curved lock screens deliver dramatic impact. The adjustable locking mechanisms allow you to create precisely the right curvature for your venue.
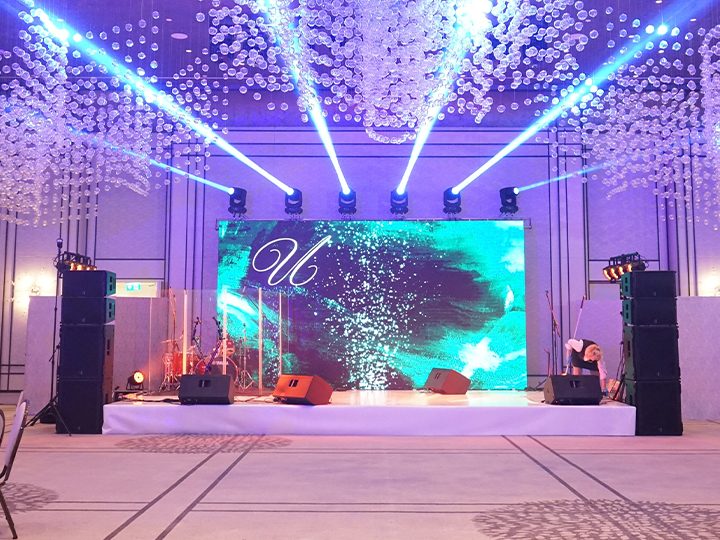
Nightclub owners and DJs often select curved lock screens for impactful LED screen stage backdrop applications. For instance, a 180-degree curved display can transform a main room, captivating the audience, and we can guide you on how to achieve such an installation effectively.
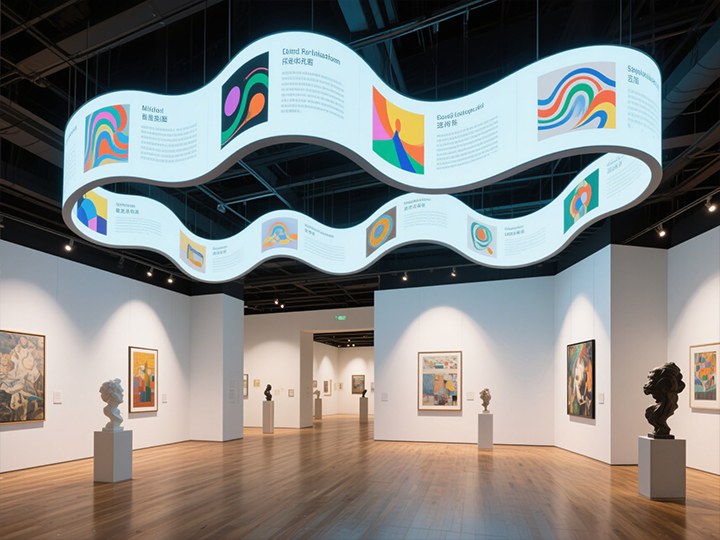
Flexible LED Screens
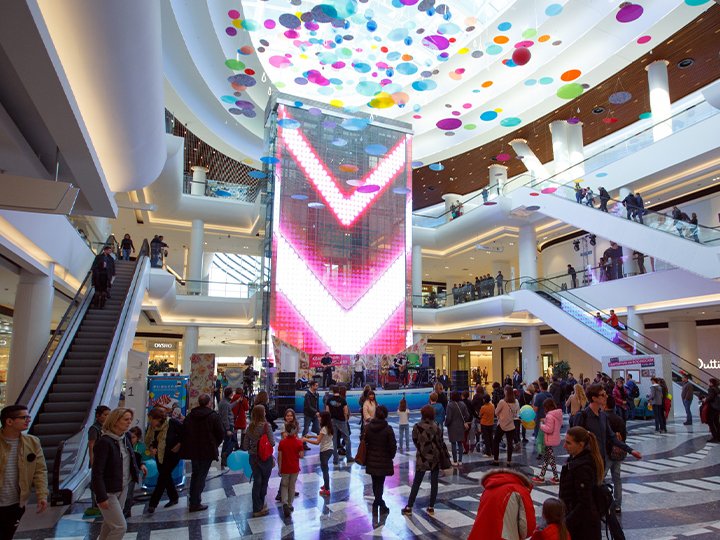
For the truly creative, flexible LED displays open up a world of possibilities. These bendable screens can form waves, cylinders, or even a LED video sphere that commands attention from every angle.
Wedding planners frequently request these for statement pieces that transform ordinary venues into extraordinary experiences. The key challenge here is designing proper support structures, which I’ll address in the Unipole Installation section.
Fixed LED Screens
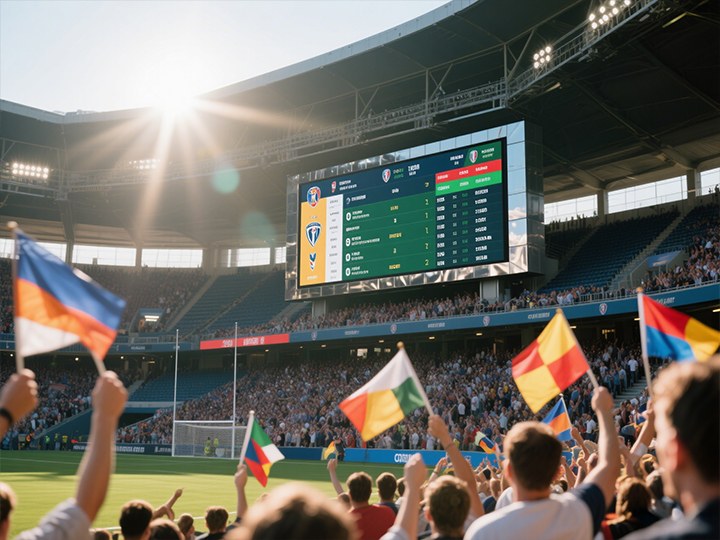
When permanence and durability are non-negotiable, fixed LED screens are the answer. These robust solutions withstand the elements while delivering consistent performance.
Sports venues and airport LED display installations typically utilize this technology for its reliability and minimal maintenance requirements. They cost more upfront but save significantly on long-term service calls.
Transparent LED Screens
The newest innovation in the space, transparent LED wall display technology allows content to appear as if floating in air. These lightweight, see-through panels maintain visibility while adding dynamic visual elements.
Retail hubs use these to transform ordinary windows into engaging LED advertising displays without blocking natural light or views. The effect is nothing short of magical when properly executed.
Common Installation Methods for LED Displays
After selecting your display type, you’ll need to choose an installation method that complements both your screen and environment. I’ve personally overseen installations using all five of these approaches.
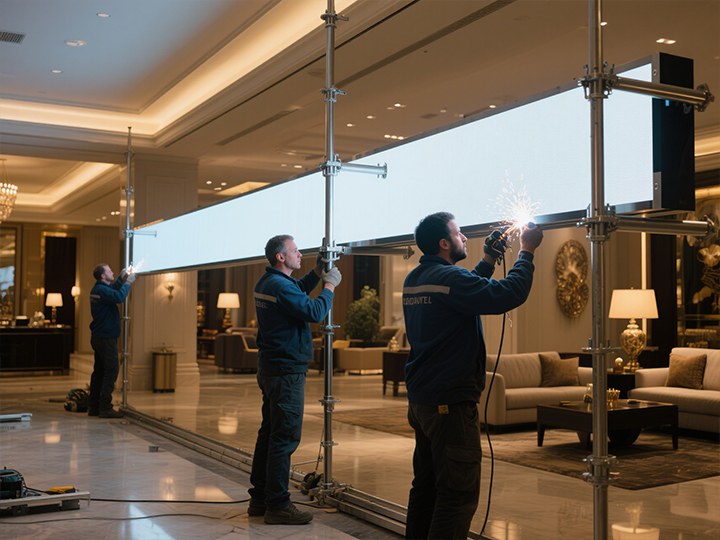
Wall Mounted Installation
Direct wall mounting provides a clean, professional look ideal for permanent applications. This method works beautifully with fixed and LED screens in controlled indoor environments.
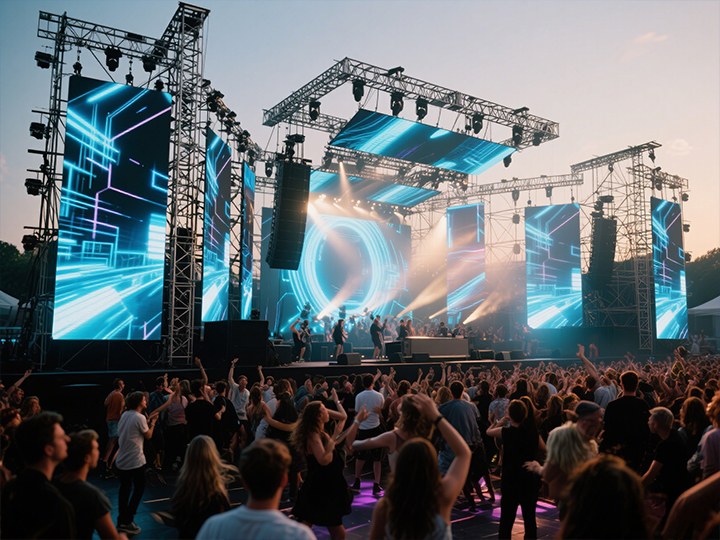
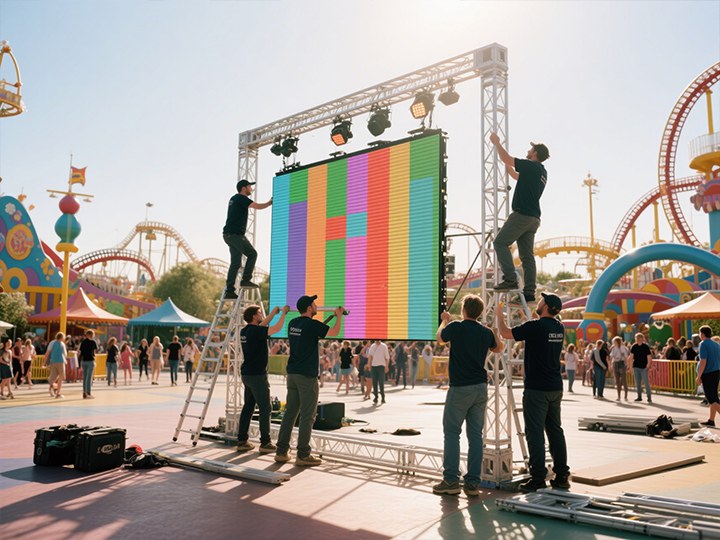
Truss Installation
For temporary setups and LED display for events, truss installations offer unmatched versatility. The modular framework adapts to virtually any screen type while providing structural integrity.
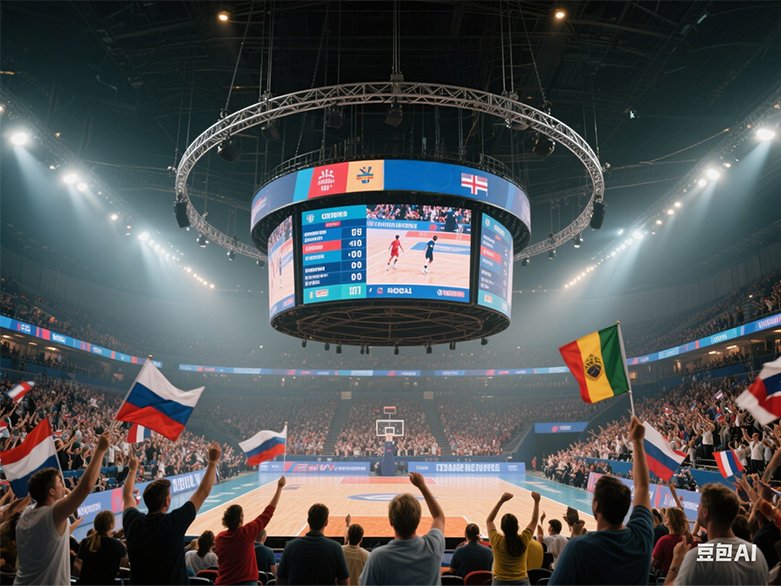
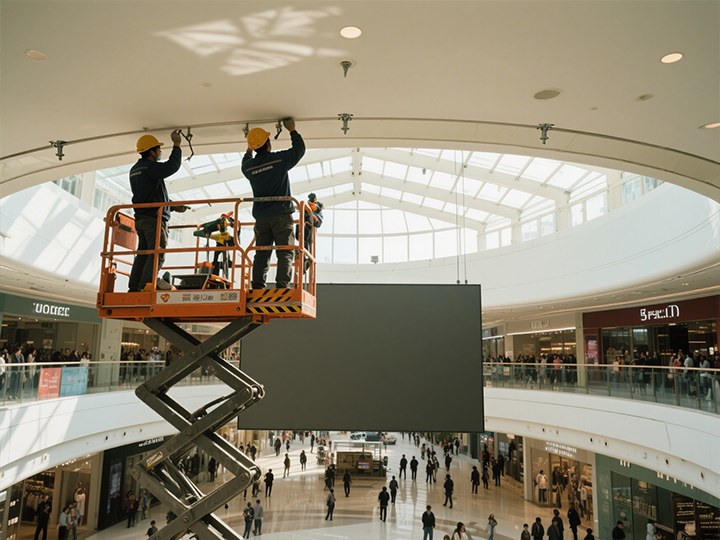
Hanging Installation
When floor space is at a premium, suspended installations create floating displays that maximize impact while minimizing footprint. Lightweight transparent or curved screens excel with this approach.
Bracket Installation
Bracket mounting balances flexibility with security, making it perfect for LED and fixed displays in locations where wall integrity is questionable or adjustability is desired.
Unipole Installation
Custom frames offer maximum adaptability for unusual spaces or unique display types. This method is essential for flexible screens requiring specific structural support.
How to Build LED Display: Step-by-Step Wall Mounted Installation
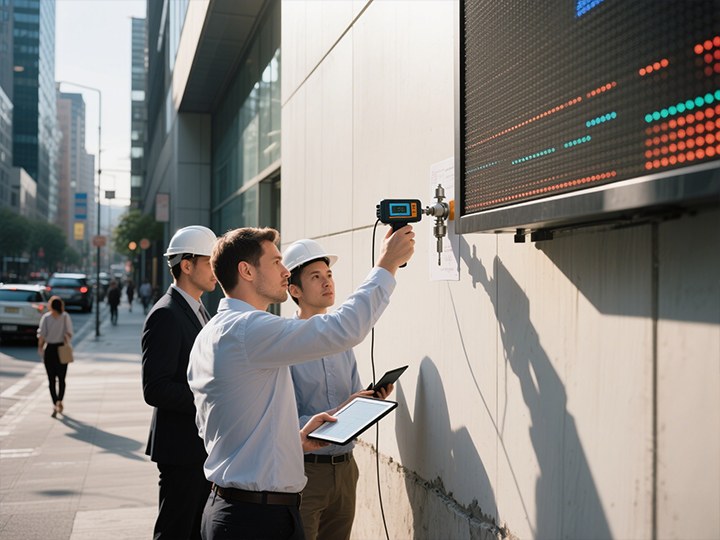
- Assess wall integrity thoroughly — I once saw a beautiful display crash to the floor because someone skipped this crucial step. Check for load-bearing capacity using structural guidelines from the U.S. Department of Energy (doe.gov, 2023).
- Install a robust steel mounting frame, using a level to ensure perfect alignment. Even minor deviations become glaringly obvious across larger displays.
- Assemble your screen (LED or fixed types work best) with fast-lock connectors, carefully aligning each cabinet.
- Secure the assembled display to your mounting frame, double-checking all connection points.
- Connect LED display cablessystematically, labeling each connection to simplify troubleshooting later.
- Power up and test thoroughly, checking for dead pixels or alignment issues.
How to Build LED Display: Step-by-Step Truss Installation
- Establish a stable truss system rated for your display’s weight plus a 20% safety margin. Event rental companies often rush this step, but it’s absolutely crucial.
- Assemble your screen (curved lock screens shine here) using the manufacturer’s quick-connect system.
- Attach the assembled display to your truss using proper clamps, ensuring even weight distribution.
- Route cables neatly along the truss, using velcro ties to prevent tangles or disconnections.
- Test your display from multiple viewing angles — what looks good LED-on might appear distorted from the sides.
TOP Dance Manager Iris, “Our latest truss-mounted curved displays at the 2024 LA Music Awards delivered 30% higher audience engagement metrics compared to traditional flat screens.”
How to Build LED Display: Step-by-Step Hanging Installation
- Secure ceiling anchor points with appropriate load ratings. For safety reasons, I always recommend consulting a structural engineer when suspending displays overhead. (Always prioritize safety with suspended installations.)
- Assemble lightweight screens (LED transparent or curved lock options work best) with magnetic connectors.
- Attach aircraft-grade cables or chains at precisely measured intervals to ensure even weight distribution.
- Level your display meticulously — even slight tilting becomes magnified at viewing distance.
- Route and secure LED display cablesdiscreetly, avoiding strain on connectors.
- Perform thorough testing from multiple angles and distances.
How to Build LED Display: Step-by-Step Bracket Installation
- Select brackets rated for at least 1.5x your screen’s weight — I learned this lesson the expensive way early in my career.
- Secure brackets to your mounting surface with appropriate anchors, maintaining perfect alignment.
- Assemble your LED or fixed screen according to manufacturer specifications.
- Mount the assembled display to your brackets, verifying stability before releasing support.
- Connect and test all components methodically before final positioning.
According to 2023 whitepaper on efficient installations, properly bracketed displays reduce maintenance requirements by up to 40% compared to other mounting methods.
Conclusion
Building your own LED display may seem daunting initially, but this step-by-step guide provides the foundation you need to create professional-quality installations. Whether you’re working with LED, curved, or flexible screens, proper planning and execution make all the difference.