Mastering LED Display Operation: A Complete Guide to Visual Excellence
Walking into any modern event space, retail environment, or sports venue today, you’ll likely encounter brilliant LED displays transforming the atmosphere. Behind these captivating visual experiences is an LED display program driving the show. Throughout my 30 years in the industry, I’ve watched countless businesses struggle with the intimidating learning curve and high upfront costs of LED display systems. Event planners and venue managers often find themselves overwhelmed by the complex integration challenges these technologies present. I’ve helped hundreds of clients navigate these waters, and today, I’m sharing my practical knowledge to help you master the essentials of LED programming without the frustration. 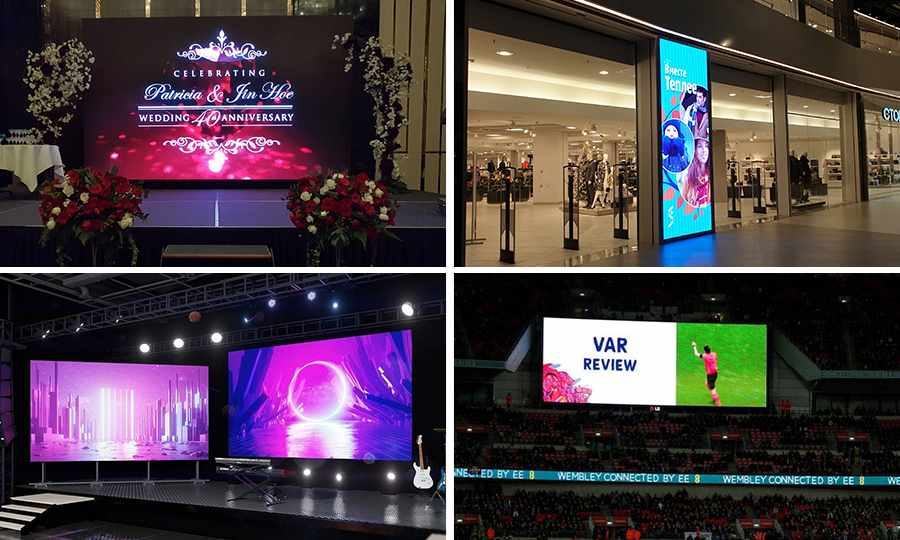
What Is an LED Display Program?
Defining the Basics of LED Display Software
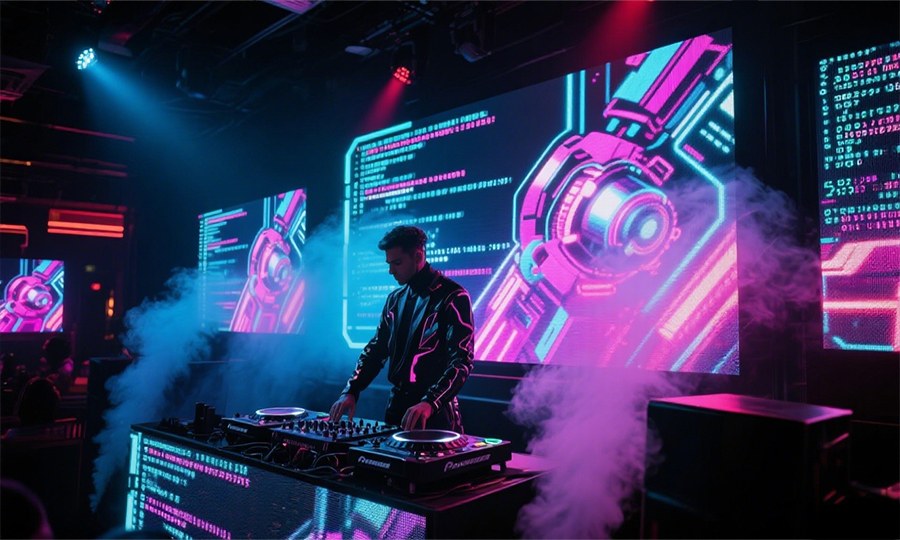
An LED display program refers to specialized software that controls content displayed on LED screens. Think of it as the brain behind those vibrant digital billboards, dynamic sports venue scoreboards, and eye-catching event displays that captivate audiences. These programs translate your creative vision into signals that tell each individual LED exactly when to light up and what color to display. For example, when you watch a baseball game and see animated graphics celebrating a home run, that’s an LED display system in action. The software enables real-time control over what content appears, when it changes, and how it transitions. This technology powers everything from Times Square’s iconic billboards to the wedding venue screen displaying your personalized welcome message. 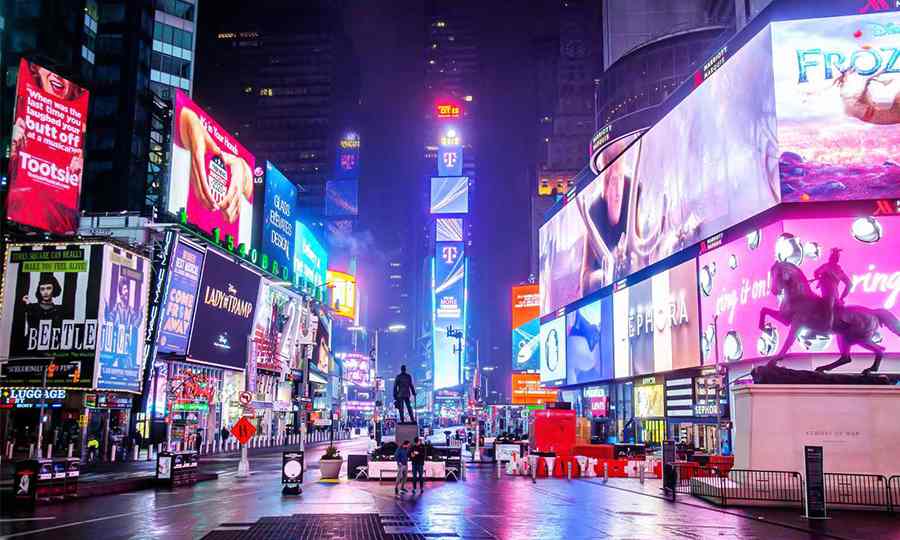
Why It Matters for Your Business
For event rental companies, nightclub owners, and retail marketers, LED display programming isn’t just a technical necessity—it’s a competitive advantage. I’ve witnessed firsthand how wedding venues with well-programmed displays create personalized experiences that guests remember long after the event ends. Similarly, nightclubs using dynamic LED content programming consistently outperform competitors by creating immersive environments that keep patrons engaged. The difference between amateur and professional results often comes down to not just the hardware quality but how effectively you program that hardware. A thoughtfully programmed display creates emotional connections with audiences, while poorly executed content creates disconnect and distraction. 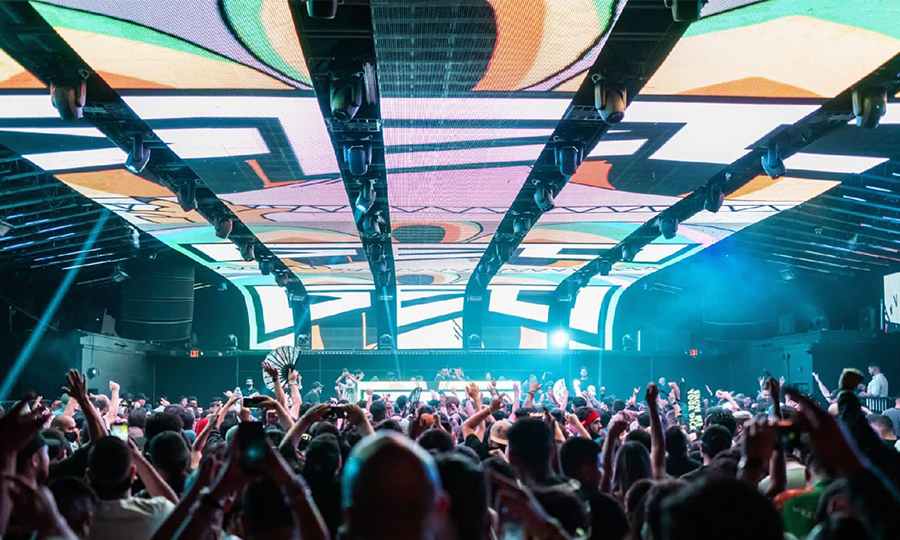
Key Components of LED Display Systems
Understanding LED Modules and Controllers
Before diving into how to program LED displays, you need to understand the physical components you’re working with. An LED display system consists of several key elements:
- LED Modules: The physical panels containing the individual LED lights
- Power Supplies: Deliver clean, consistent power to the modules
- Controllers: The hardware interface between your computer and the display
- Receiving Cards: Interpret signals from controllers and distribute to modules
- Cables: Connect all components together
The technical specifications of these components directly influence your programming approach. A higher resolution P2.9 indoor module requires different calibration than a P6 outdoor module. Understanding these differences prevents frustrating troubleshooting later. 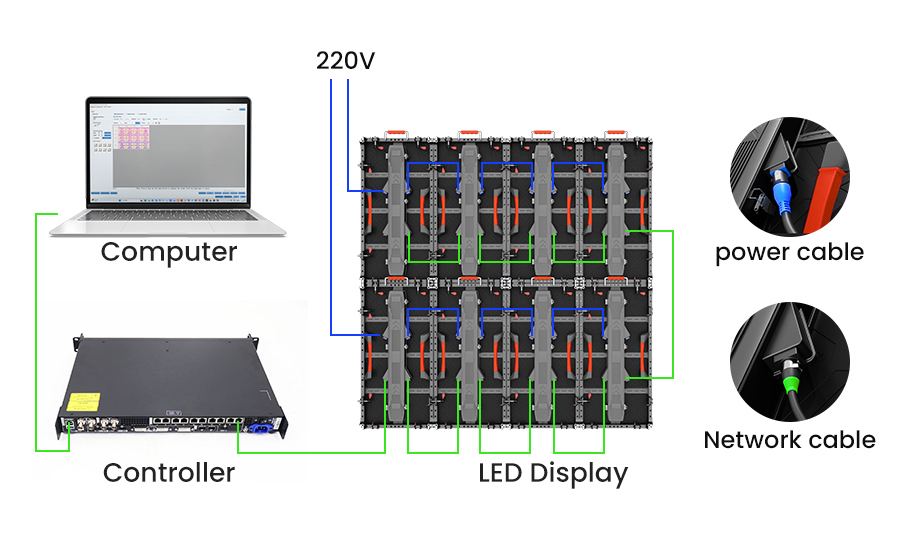
Synchronous vs. Asynchronous Control Systems
When programming LED displays, you’ll encounter two primary control architectures: Synchronous systems maintain a constant connection between your computer and the display, sending a continuous stream of data. This makes them ideal for live events where real-time content matters. At a concert I managed last summer, we used synchronous control to coordinate visuals perfectly with the performer’s movements on stage. Asynchronous systems upload content to onboard storage in the LED controller, which then plays independently. These shine in retail environments where content remains relatively static. For a shopping mall client, we programmed weekly promotional content that runs automatically without requiring constant connection. Your choice between these systems depends entirely on your specific needs and usage scenario. 
Popular Software for LED Display Programming
Commercial Solutions Like Novastar NovaLCT:
Specialized software packages dominate the LED display board programming landscape: Novastar NovaLCT provides exceptional calibration capabilities, making it ideal for applications where color accuracy is crucial. In my experience, it excels at managing large, complex displays with multiple modules. 
Step-by-Step Guide to Programming an LED Display
Installing and Setting Up Your Software
Let’s walk through the process of how to program LED display boards using Novastar NovaLCT as our example:
- Download and installthe software from the manufacturer’s website or use the included CD/DVD
- Launch the programand navigate to system settings
- Configure your display parameters:
- Set physical dimensions (width and height)
- Define module quantity and arrangement
- Select module type and pixel pitch
- Configure network settings for your controller
The most common mistake I see is incorrect module configuration. Double-check your module specs before proceeding—I once spent three hours troubleshooting before realizing I had entered a P3 setting for a P4 panel!
Connecting Controllers and Creating Content
Now that your software is configured, it’s time to establish the physical connection:
- Connect your computer to the LED controller via Ethernet or USB
- In the software, scan for and identify your controller
- Map your physical modules to match your actual display arrangement
For content creation, you have two approaches:
- Direct creationwithin the LED software using built-in tools
- Import contentcreated in design programs like Photoshop or After Effects
Pro tip: Always design content at your display’s exact pixel dimensions. Scaling content later often produces disappointing results, especially with text clarity. I maintain a template library with preset dimensions for each client’s display configurations.
Sending and Testing Your Display Content
The final stage involves transferring your content to the display:
- Preview your content in the software simulator
- Make any necessary adjustments to timing, transitions, or effects
- Send the program to your controller using the “Send” or “Download” function
- Verify the display shows the expected content
My pre-launch checklist includes:
- Testing all content at varying brightness levels
- Viewing from multiple angles to check visibility
- Running through the entire content sequence uninterrupted
- Testing any scheduled content changes
Following this systematic approach has saved my clients countless headaches during high-profile events. 
Advanced Features to Elevate Your LED Display Program
Scheduling Content for Maximum Impact
One of the most powerful aspects of modern LED display screen programs is intelligent content scheduling: Using Macropix Omnibus scheduling tools, you can program content to automatically change based on:
- Time of day
- Day of week
- Special events or triggers
This capability transformed a wedding reception I managed last year. We programmed the venue’s displays to transition seamlessly from formal welcome messaging during dinner to high-energy party visuals when the dancing began—all without operator intervention. 
Brightness Control and Special Effects
Advanced LED display programming extends beyond basic content to include:
- Adaptive brightness: Automatically adjusting display intensity based on ambient light
- Motion effects: Adding movement to static content
- Transitions: Creating smooth flows between content pieces
How to Choose the Right LED Display Solution
Matching Software and Hardware to Your Needs
Selecting the appropriate LED display system involves analyzing your specific requirements: For sports venues, focus on software with robust real-time data integration capabilities that can display changing scores and statistics instantly. For wedding and event planners, prioritize user-friendly interfaces and reliable scheduling features that won’t fail during critical moments. For retail environments, choose systems optimized for extended operation with minimal intervention. Consider these key questions:
- How frequently will content need updating?
- Who will operate the system day-to-day?
- What level of technical expertise is available on staff?
- What’s your budget for both initial setup and ongoing management?

Troubleshooting Common LED Display Program Issues
Fixing Power and Connectivity Problems
Even with perfect LED display board programming, technical issues can arise. Here’s how to address the most common problems: Display won’t power on:
- Verify power source connections
- Check circuit breakers and fuses
- Inspect power supplies for indicators of failure
- Test with alternative power sources if possible
Connectivity loss during operation:
- Check for loose or damaged signal cables
- Verify network configuration settings
- Restart controllers in proper sequence
- Look for potential interference sources
Last year at a trade exhibition, our client’s display suddenly went dark 30 minutes before opening. Tracing the issue to a power distribution failure, we quickly reconfigured the system to bypass the damaged component. The solution wasn’t textbook, but it saved the event—sometimes troubleshooting requires creative thinking under pressure.
Handling Dead Pixels and Display Errors
Visual anomalies require a different troubleshooting approach: Dead or stuck pixels:
- Run test patterns to attempt pixel unlocking
- Document the location and extent of affected areas
- Determine if the issue falls within acceptable failure rate
- Quickly replace affected modules through front panel maintenance when necessary
 Abnormal display areas:
- Check receiving card connections
- Verify module mapping in software
- Test alternative content to determine if the issue is content-specific
- Consult manufacturer forums for known issues with your specific hardware
For extensive support resources, most manufacturers maintain detailed troubleshooting databases. Always consult a certified professional for electrical repairs to avoid shock hazards and further equipment damage. Power systems in LED displays can contain dangerous voltage levels even when apparently powered down.
Conclusion
Mastering LED display programming transforms what many see as a technical headache into a powerful communication tool. Throughout this guide, we’ve explored how the right approach addresses the pain points that plague so many businesses—from prohibitive costs to complex integration challenges. I’ve witnessed countless “wow” moments when clients see their content brilliantly executed on a properly programmed display for the first time. That moment of connection—when technical complexity transforms into creative expression—makes all the difference. Whether you’re managing a nightclub’s atmospheric visuals, coordinating a stadium scoreboard, or creating immersive wedding experiences, the principles and practices we’ve covered provide a foundation for success. Remember that even the most advanced LED display is only as effective as the program driving it.