How are LED billboards built?
With the development of the modern display industry, more and more commercial display agencies are giving priority to LED billboards, which have long-term economic benefits. So how are such LED billboards built? Let’s find out together!
Clarify the purpose
Installation location
There are two main types of LED billboard installation locations: indoor and outdoor. Users can choose according to their own needs.
Installation method
Most LED billboards are installed using a fixed installation method. This method involves permanently placing the LED billboard at a specific location without dismantling or moving it. Within the scope of fixed installation, users can choose between two main installation methods: column-mounted and wall-mounted.
Column-mounted installation is divided into single-column and double-column. As the name suggests, it is supported by one or two columns. If column-mounted installation is used, concrete and steel materials must be prepared before installation to facilitate subsequent foundation treatment. Wall-mounted installation involves installing the LED billboard on the surface of a building wall, which only requires a truss structure to be built.

Maintenance and installation of LED billboards
For LED billboards, there are three main types of maintenance and installation: front maintenance installation, rear maintenance installation, front and rear maintenance installation. We can choose according to the installation location. When LED billboards are installed indoors, front maintenance installation can be chosen. If LED billboards are installed outdoors, rear maintenance installation or front and rear maintenance installation can be chosen.
Front maintenance installation does not require consideration of building a passageway, only the installation of LED modules according to the position of the steel structure. Rear maintenance installation requires consideration of the construction of a passageway. Maintenance personnel can install LED modules from the rear to complete the construction and maintenance of the LED billboard. As for front and rear maintenance installation, it is slightly more expensive, but the maintenance method is more flexible.
Designing the shape of LED billboards
Before building an LED billboard, customers need to determine whether it will be single-sided, double-sided, or four-sided, etc., in order to design the billboard.
Single-sided LED billboards can only be viewed from one direction, and their viewing angle is limited. Double-sided LED billboards allow people to view the display from two different directions, offering a wider viewing angle than single-sided LED billboards.
Four-sided LED billboards have four display surfaces. Four-sided designs can be created using conventional LED module assemblies or flexible LED module assemblies, achieving a 360-degree viewing angle, enabling people to view the display content from various angles.
Determining screen specifications
Once we have clarified the purpose of the LED billboard, we need to select and determine its specifications.
Determine the size and proportion of the LED billboard
We can confirm the size and display proportion of the LED billboard based on the environment in which it will be built. Once this has been confirmed, we can select the modules for the LED billboard.
Selecting LED modules
First, we select the pixel pitch. Different pixel pitches produce different display effects. A small pixel pitch is good for viewing at close range and is suitable for indoor or small spaces. A large pixel pitch is good for viewing from a distance and is suitable for outdoor or large areas. If you want a more beautiful picture, you can choose a smaller pixel pitch.
After selecting the pixel pitch, we also need to select the type of LED module based on the location of the build. If the LED billboard is built indoors, then choose an indoor LED module. If the LED billboard is built outdoors, then choose an outdoor LED module.
Calculate power requirements and power consumption
After all of the above items have been determined, JYLED will provide a quotation for the LED billboard. The quotation sheet will include specifications for the power supply unit, allowing you to understand the voltage, current, and number of LED modules it can power. If you wish to calculate the maximum and average power consumption per square meter, you can refer to the following example:
A 5V 40A power supply unit can power 4 LED modules of size 250x250mm. The calculation formula is as follows:
- Power supply power consumption = current * voltage, i.e.5 * 40 = 200W
- Number of LED modules per square meter = 1 square meter / LED module area, i.e. 1,000,000 / 250 × 250 = 16
- Number of power supplies installed per square meter = number of LED modules per square meter / number of power supply loads, i.e. 16 / 4 = 4
- Maximum power consumption per square meter = number of power supplies per square meter * power consumption of power supply, i.e. 4 * 200 = 800W
- The average power consumption per square meter is half of the maximum power consumption per square meter, i.e. average power consumption per square meter = 800 / 2 = 400W
Check the LED billboard components
Before building the LED billboard, check the LED components. If any of the LED components are damaged or missing during transportation, please contact us immediately. At the same time, prepare the building tools and wear protective equipment to prevent accidents.
Measure the building environment
After checking that the LED billboard components are correct, calculate the length, width, thickness, and truss structure dimensions of the screen according to the LED billboard specifications selected above. This will improve the accuracy of the construction and reduce errors.
After the calculation is complete, you can use measuring tools to calibrate the data. For example, for some uneven areas, we can use a laser level to calculate the specific error value.
For these errors, we choose other non-conventional LED modules for splicing. While measuring, you can mark important installation points to facilitate the subsequent truss structure construction.
Design the structure and frame
The LED billboard designs need structure and frame, and built according to their installation method. If the selected installation method is rear maintenance installation or front and rear maintenance installation, then a 50-60 cm passage should be left to facilitate the construction of the LED billboard cabinet and cable connection.
The materials required to build the frame are welding tools, steel structure materials, and square tubes. The square tubes can be selected according to the width of the screen. The square tubes are usually 4×8 cm, 4×4 cm, or 2×2 cm in size.
When building the frame structure, you can first build the rough frame structure, then build the small frame structure, and finally refine the entire frame structure to make the entire frame structure more secure. If you are installing an indoor LED billboard, you will need to use additional square tubes to edge the screen.
LED cabinet construction
After ensuring that the frame structure is stable, you can build the LED cabinet in the lower left corner of the frame, and then splice the LED cabinets in order from bottom to top and from left to right.
When splicing LED cabinets, the positioning points and grooves of the LED cabinets should be aligned and fixed to the adjacent cabinets with locks. Additionally, every four cabinets should be secured to the steel structure using connecting plates and bolts to ensure the LED cabinets are securely fixed to the frame.

Cable Installation
After completing the above steps, proceed with cable installation. Cables are divided into two types: power cables and data cables. During installation, follow the “one in, one out” principle for cable connections. To prevent connection errors, it is recommended to connect all power cables first before connecting the data cables.
After confirming that the cable connections between cabinets are correct, connect the main power cable to the power source and the LED cabinet, then connect the video processor to the LED cabinet using an Ethernet cable.
LED Billboard Calibration
After all cables are connected, use an HDMI cable and USB debugging cable to connect the computer to the video processor. After connection, you can download the LED control software from the JYLED official website to debug the LED advertising sign. If the relevant LED control software is not available on the official website, please contact our technical engineers. After software debugging is complete, the next step is to upload the content to be displayed using a computer or Wi-Fi.
Designing Display Content
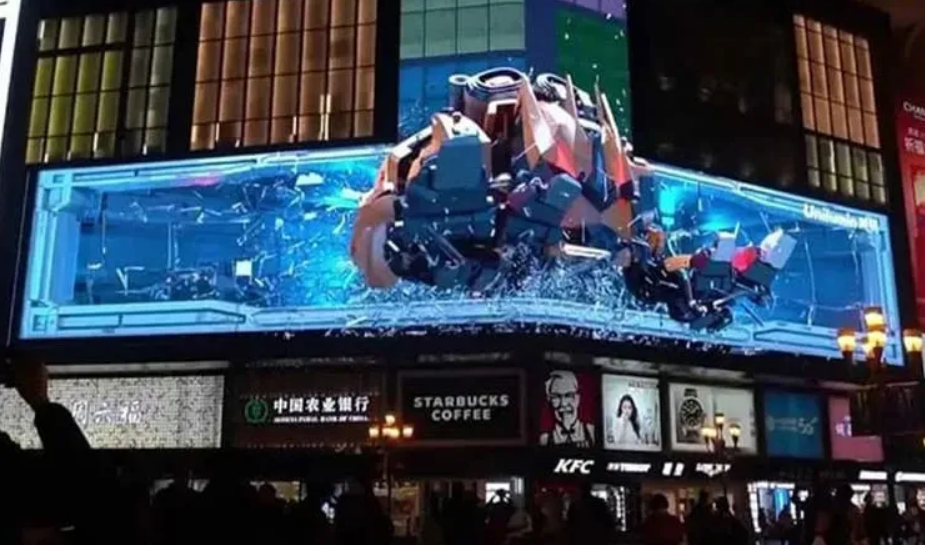
The display content of the LED advertising sign varies depending on the selected type. If a standard LED billboard is chosen, the content can be designed on a computer and directly transmitted to the screen, whether it is static images or dynamic videos. If a 3D LED billboard is chosen, specialized software must be used to design 3D content to achieve the 3D stereoscopic effect on the 3D LED billboard.

Other considerations for building LED billboards
Government approval
When you are building a large LED billboard, you only need to submit the relevant certificates, reports, contracts, and other documents to the local government in advance to obtain their approval before you can build the LED billboard.
If you plan to build it on a commercial building, in addition to obtaining government approval, you also need to obtain the approval of the property management unit. When you are building a small LED billboard, you can build it directly.
Brightness
In some regions, governments strictly regulate the brightness of LED displays. If the brightness of an LED display causes light pollution in the local area, it may be forcibly removed by the local government.
Therefore, when selecting an LED advertising sign, it is advisable to choose one with a brightness regulator, which allows the brightness of the LED advertising sign to adjust according to changes in ambient light, thereby reducing the occurrence of light pollution.
Safety Measures
Whether building a large LED billboard or a small LED billboard, use guardrails or other protective measures to block off the construction area to prevent unauthorized personnel from entering and reduce the probability of accidents.
Regular inspection
After the LED billboard is operating normally, it should be inspected regularly to extend its service life. If part of the display area is damaged or has dead pixels, you can replace it with a spare from the same batch. When the LED screen is flickering, check whether the power cord connection is secure or there is poor contact. If poor contact is detected, replace the power cord or clean the socket. When the power cord is loose, unplug and replug it, and to ensure a secure connection.
Conclusion
After reading this article, I believe you know how to build an LED billboard. If you’re having trouble building or DIY LED billboards, you can contact MuenLED, and we will provide you with remote guidance or send professional technicians to the site to assist with the construction.